
Define your Audience
API
Sending Type
Define the sending type choosing one option between 3 possibilities:
1. Send Now
Sending the email right now. Once you click, the system will ask you again in another pop-up that you will need to confirm.
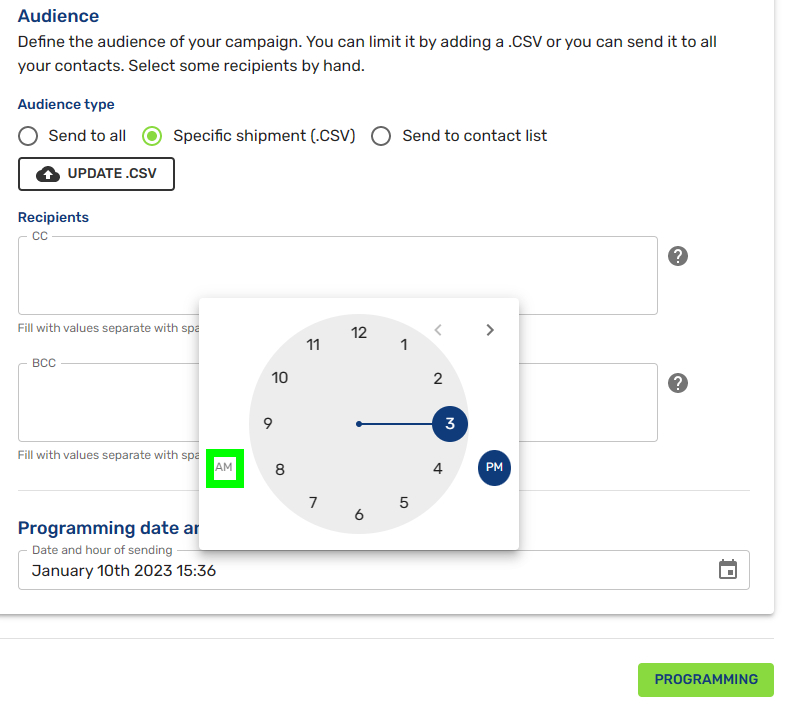
2. Schedule
You can schedule your email selecting date and time. Only it is necessary to click and then a calendar appears to choose the data. Then a watch appears to choose the time, please select PM or AM to clarify evening/night or morning, respectively.
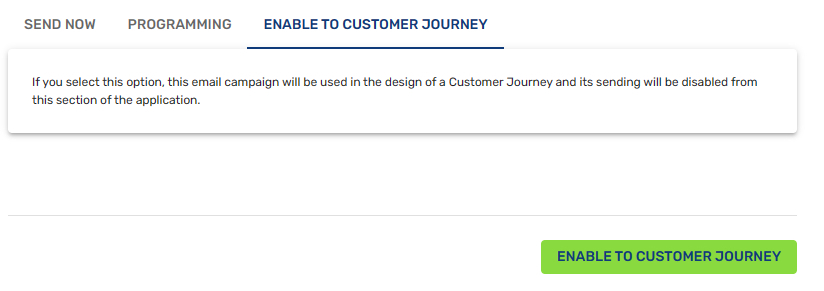
3. Enable for Customer Journey
If you select this option, this email campaign will be used in the design of a Customer Journey and its sending will be disabled from this section. Don´t forget to click on the green button below.
Audience type
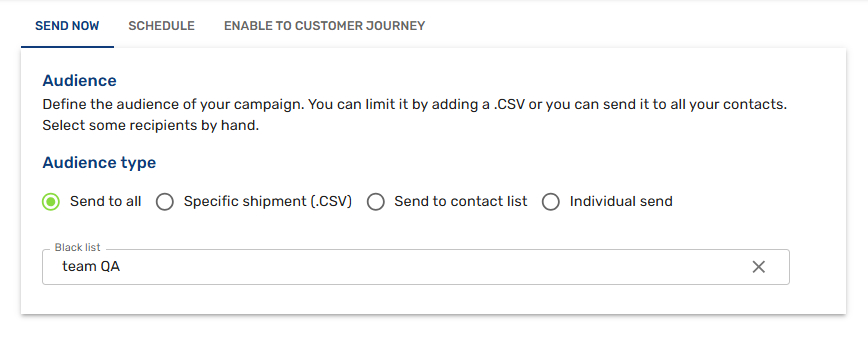
1. Send to all
The sending of email will be sent to all database. You can include a blacklist (which can be created in the Audiences > List of Contacts menu) to exclude specific email addresses from the campaign delivery.
2. Specific shipment (.CSV)
Click on the the Update .CSV button to upload the file. Once it is uploaded, you are ready to send the email or schedule it.
Mandatory field
The email account is a mandatory field so you can use it as a customer identifier. You can upload a .CSV with the email field and its variables (see example).
If you want to use variables, remember that you also need to upload these fields. For example, to write "Hi [[var:name]]! We have discounts in our **[[var:city]]**store, are you going to miss them?". The result is "Hi Tom! We have discounts in our Madrid store, are you going to miss them?".
For example, using these fields:
email, name, city
[email protected], Tom, Madrid
[email protected], Sarah, London
......
You can also use your own identifiers (for example, user ID) to create the list in .CSV format. In this case, you must upload the .CSV file with the externalCode field as header (first line) and your identifiers in each of the other lines.
externalCode, name, city
[email protected], Paul, Madrid
[email protected], Mary, London
......
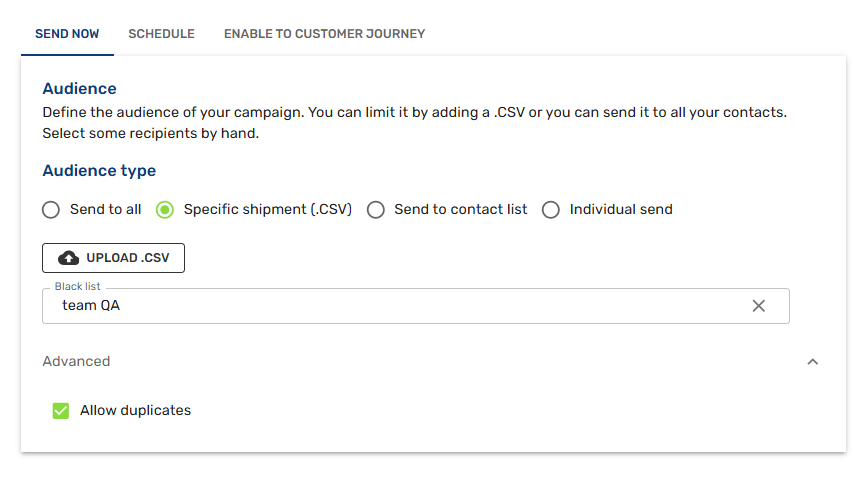
Additionally, there is a section to add a contact list (which can be created in the Audiences > List of Contacts menu) to act as a blacklist; the campaign will not be sent to any email address on that list. Furthermore, in the Advanced settings, you can enable an option to prevent duplicate emails from being sent to the same recipient.
Enhancing Reports with Custom Metadata
When uploading your audience database via a .CSV file, you can include custom metadata fields that will automatically carry over to your campaign reports. This enhancement significantly improves email traceability, giving organizations greater control and allowing them to extract tailored insights and analytics based on their specific business requirements.
How does it work?
Imagine you add an extra column to your CSV called "Customer Tier" (with values like VIP, Regular, or New) or "Store Location".
When you send your email campaign, our platform remembers that extra information. Later, when you look at your campaign results, those custom columns will automatically be available in your reports.
Key Benefits for Your Team:
- Deeper Insights: You can easily filter and analyze your results based on your custom data. For example, you can quickly see if your "VIP" customers opened the email more often than "New" customers.
- Better Traceability: It gives you a clear, detailed trail of how specific groups, or even individual contacts, interact with your messages.
- Total Control: You get to customize your analytics based on your exact business needs, without needing complex technical setups.
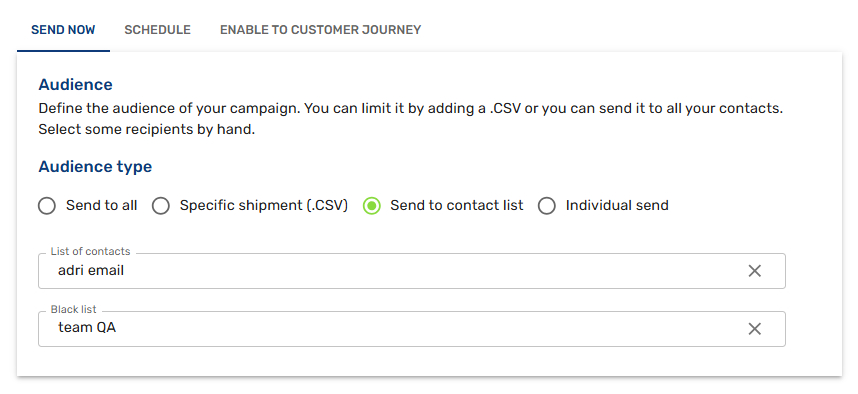
3. Send to contact list
Choose the list of contacts to send your email. Once it is selected, you are ready to send the email or schedule it.
You can include a blacklist (which can be created in the Audiences > List of Contacts menu) to exclude specific email addresses from the campaign delivery.
You have created previously the contact list from the Audience tab. We explain in detail how to create contact lists and contacts:
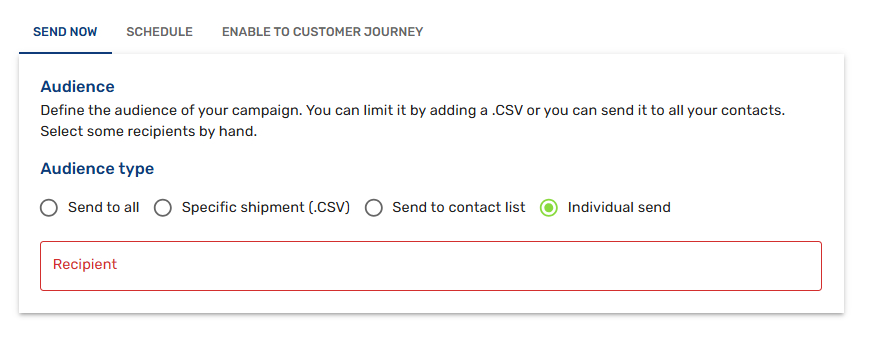
4. Individual Send
For individual delivery, type the email address into the Recipient field.
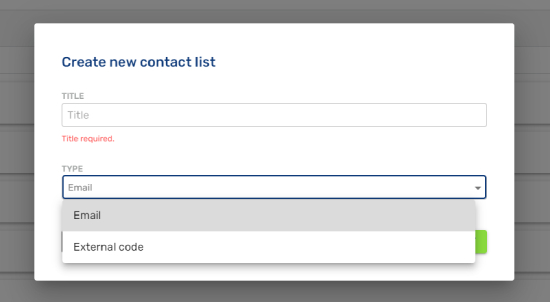
Contact Lists
Contact list for massive mailings by email. On the menu Audience > Email/Contact Lists you can create lists to send your campaigns.
Only you pulse on the New button and write the name for the list and its type, choosing between Email and External Code. Both fields are necessary when you create the new contacts as you can see below.
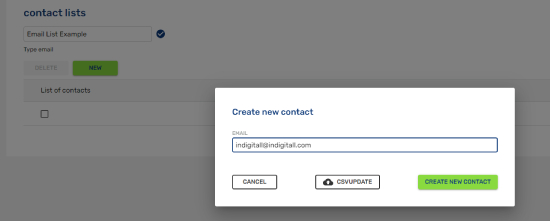
Once the list is created, then you can add the emails and external codes writing on the field or uploading a .CSV file as the image below shows:
Contacts
In the section Audiences / Email / Contacts, you can manage all of your email contacts. From here, you can view your contact list, check their validation and subscription status, and perform bulk actions.
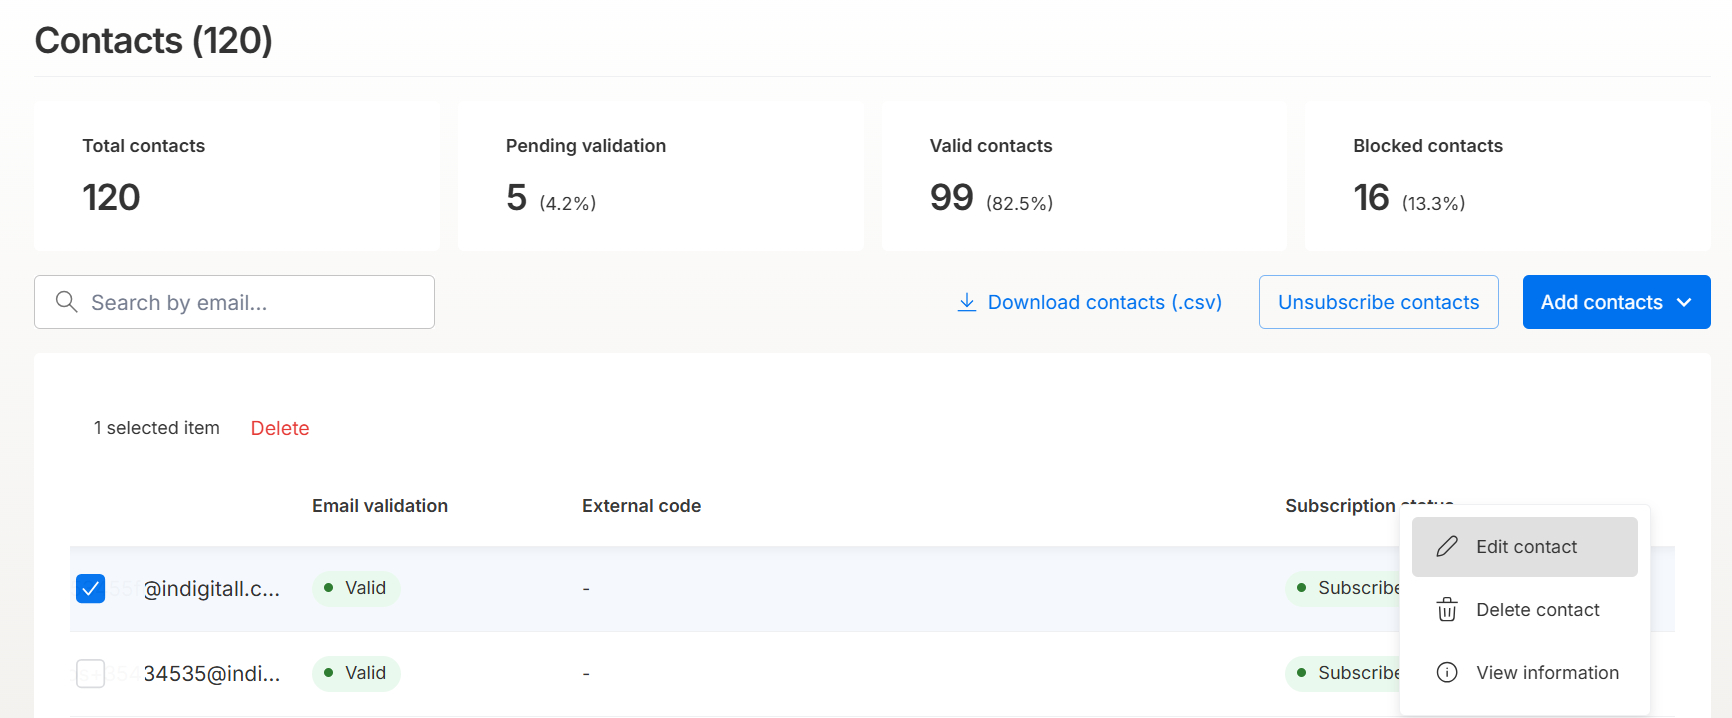
Top Menu Actions
In the top right corner of the screen, you will find three primary action buttons:
- Download contacts (.csv): Click this button to export and download your entire contact list as a CSV file.
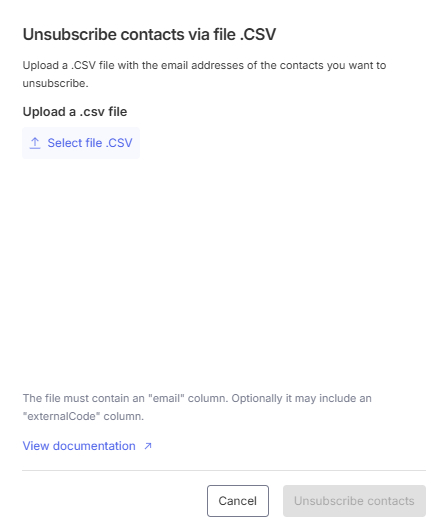
- Unsubscribe contacts: Use this option to bulk-unsubscribe users. You will need to upload a .csv document. Note: The file must contain a column specifically named email with the email addresses you wish to unsubscribe. Optionally, you can include a second column named externalCode.
-
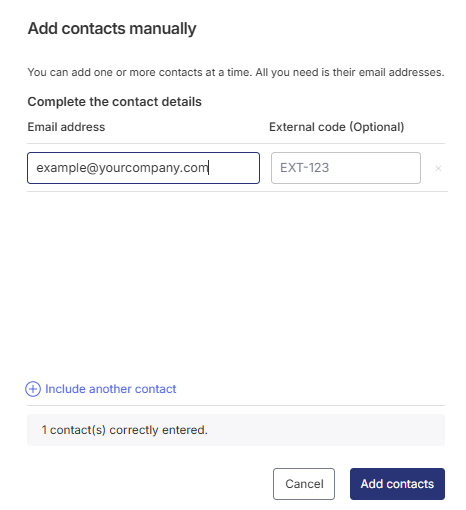
Add contacts: You can add new contacts to your audience in two ways:
- CSV Upload: Upload a .csv file containing your new contacts. The file must include a column named email (you can optionally include an externalCode column).
- Manual Entry: Add a new contact manually by directly typing in their email address.
Managing Your Contacts
The main dashboard displays a list of all your contacts with the following fields:
-
Email: The contact's email address.
-
Email validation: Displays the current validation status of the email address. The status will show as Valid, Pending, or Invalid.
-
ExternalCode: An optional identifier used to link the contact with external databases or CRMs.
-
Subscription status: Indicates whether the contact is currently Subscribed or Unsubscribed.
-
Individual Contact Actions. At the far right of each contact row, click the three-dot menu (⋮) to open the action options for that specific user. From this menu, you can:
- Edit: Modify the contact's details.
- Delete: Permanently remove the contact from your list.
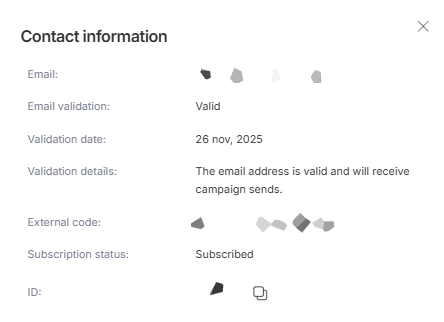
- View info: See detailed information about the contact. Please note that you can copy the Contact ID directly from this section.
Updated 2 months ago