
Google Wallet API
This guide will walk you through the steps to obtain and set up the required certificate for integrating the Google Wallet API.
-
STEP 1. Set up a Google Cloud Project:
-> Go to the Google Cloud Console.
-> Create a new project or select an existing project.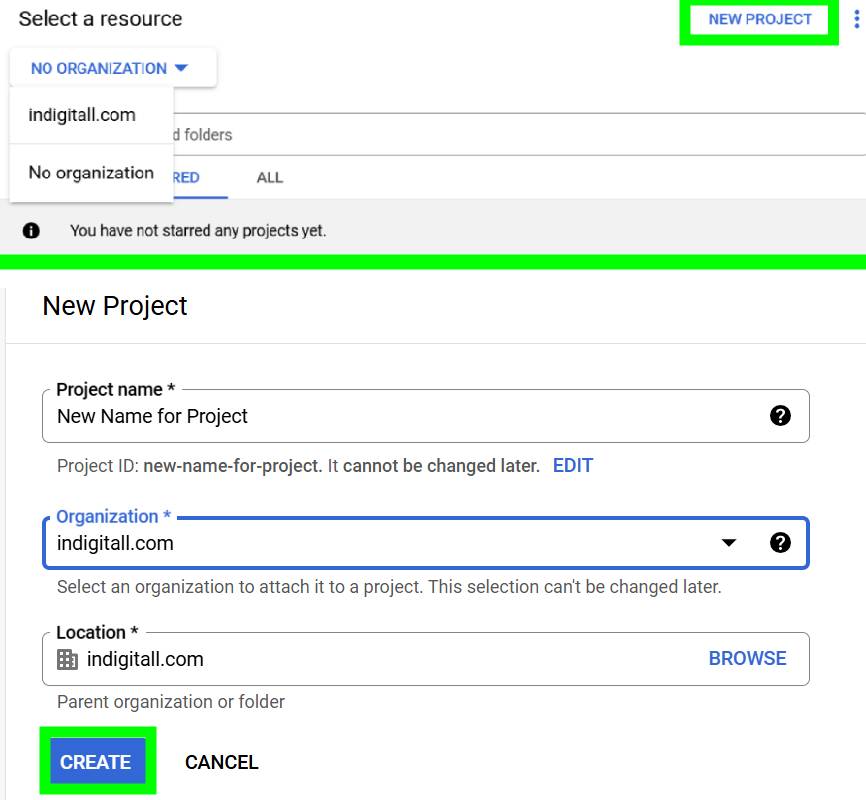
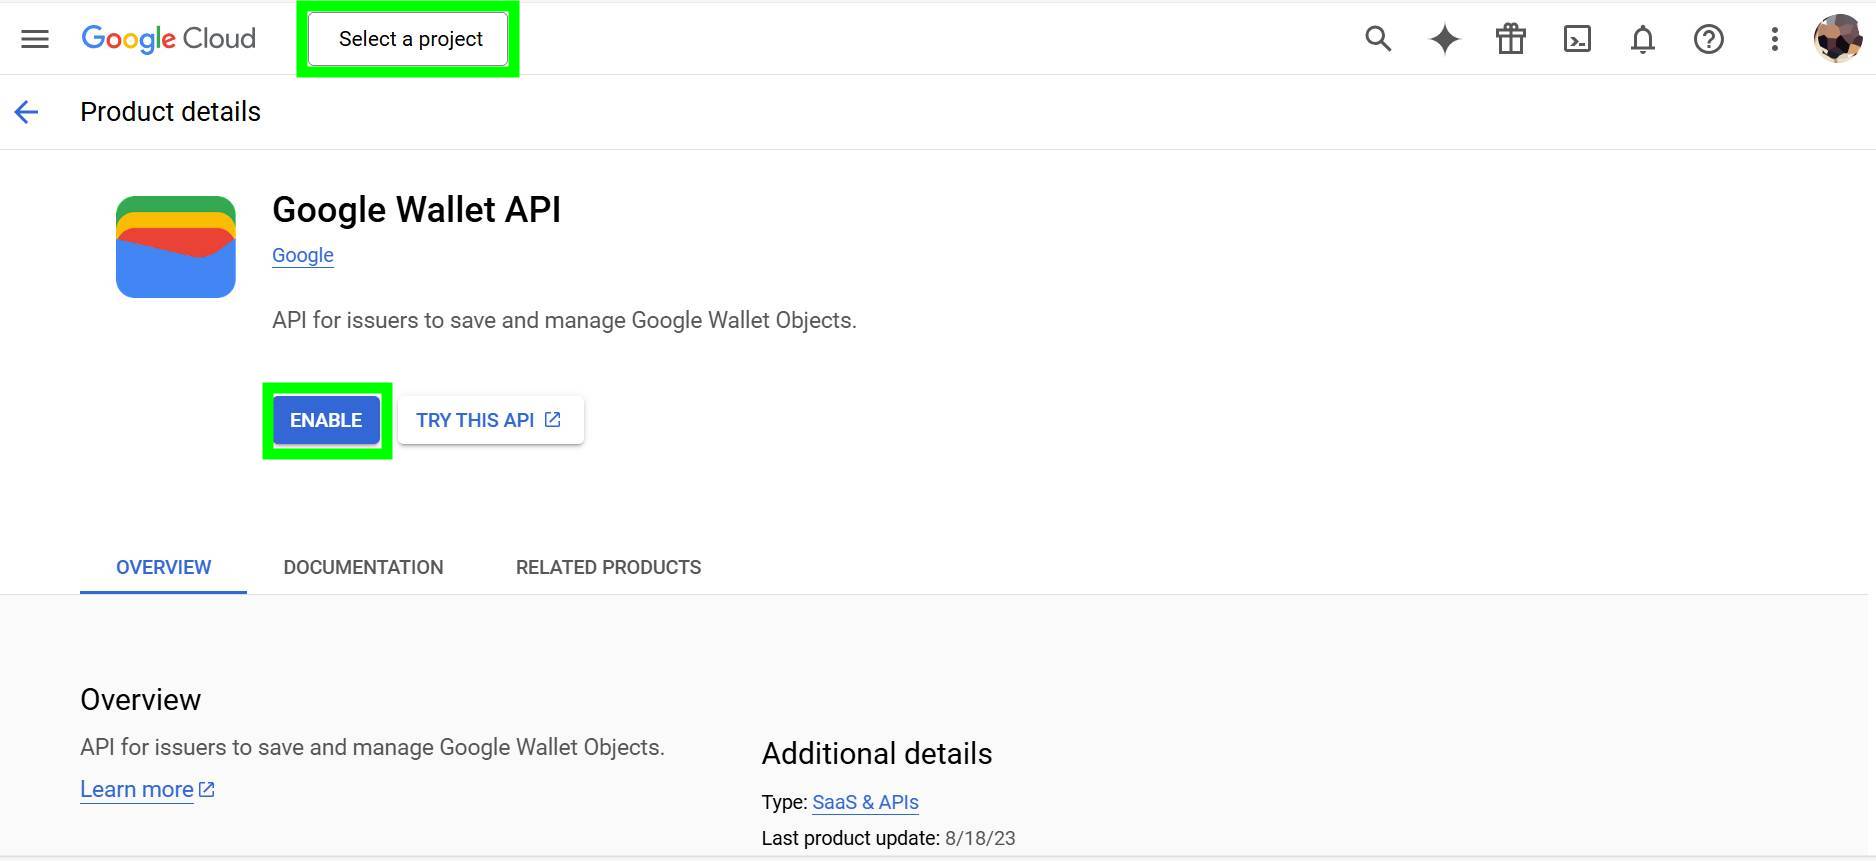
-> Enable the Google Wallet API for your project.
- STEP 2: Generate a Service Account file
To authenticate your requests to the Google Wallet REST API, you must create a service account and generate a service account key by following these steps:
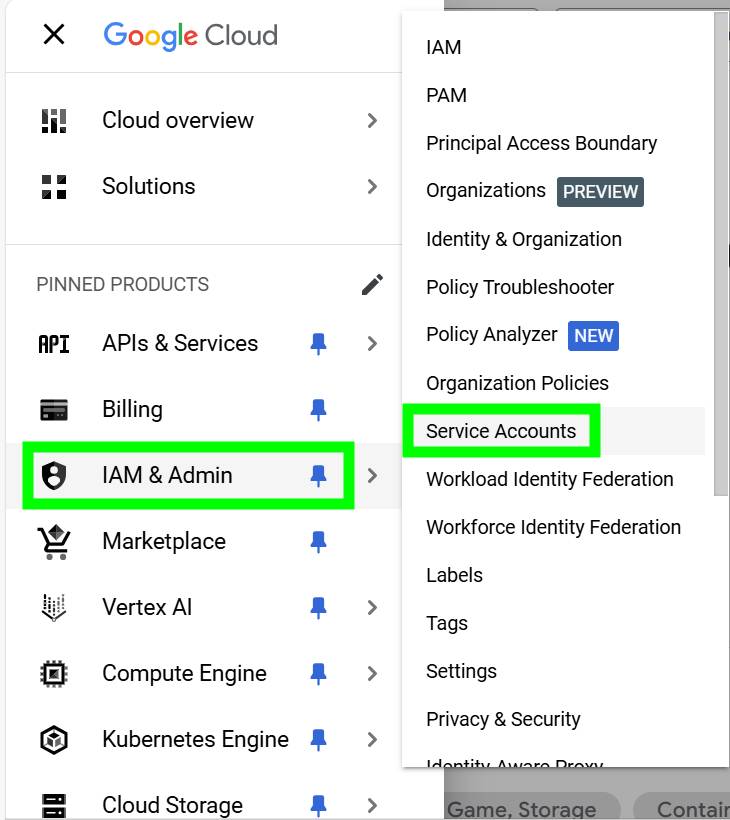
- Go to IAM & Admin > Service Accounts. Navigate to the Create service account option in the top menu of the Google Cloud Console.
- Fill in the required details for the service account.
- Click the DONE button. You can skip the remaining steps for creating the service account.
- After creating the service account, click the three dots under the Actions column and select Manage Keys. Then, go to the KEYS tab.
- Open the ADD KEY drop-down menu and choose Create new key.
- In the dialog box, select JSON as the key type.
- Click CREATE to generate and download the service account key file.
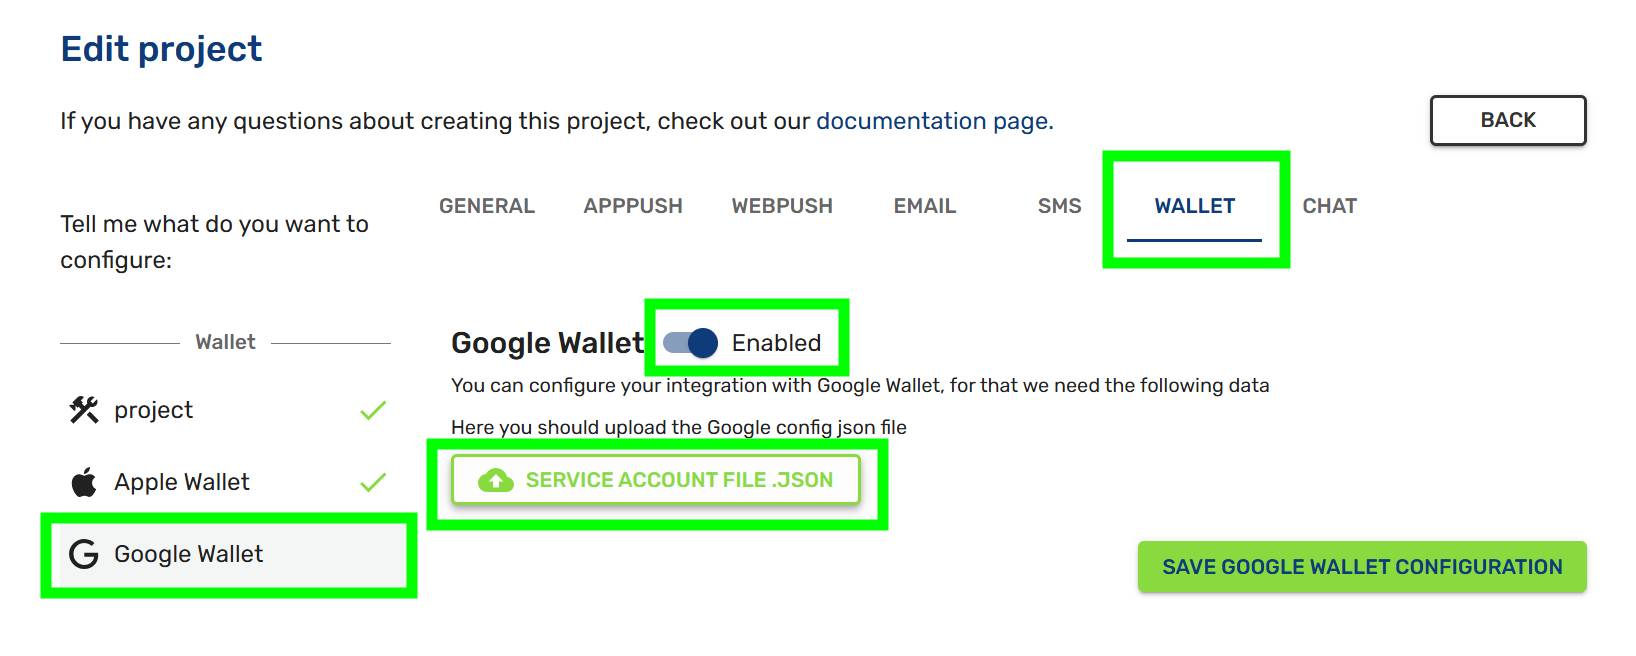
- STEP 3: Add the JSON Document to Wallet Configuration
-> Save the JSON file securely in your project configuration under the Wallet section. Remember to select Enabled to upload the certificate and then save the configuration.
Verify Integration-> Test your integration by making a sample request to the Google Wallet API.
-> Ensure that your certificate is correctly applied, and your requests are authenticated.Additional Notes
Certificates must be renewed periodically as they have an expiration date.
Keep your private key secure and avoid sharing it publicly.
Obtaining Publication Permissions for the Google Wallet API
Before you can manage Google Wallet passes, you must create a class and complete your business profile for the Google Wallet API. This is required to request publisher mode and obtain Google’s approval.
Having publisher mode is necessary to create pass issuers. Otherwise, you will encounter the following error when configuring Google in our wallet service: Unable to create Google Wallet issuer - Service account or user must already be shared with a non-suspended issuer.
Steps to Obtain Permissions:
1. Access the Google Pay & Wallet Console
Visit https://pay.google.com/business/console.
If your Google account is not registered in the Google Wallet program, create an account.
2. Add the Service Account Email
Add the email address of the service account created in your Google Cloud project and grant it Developer permissions. Ensure this service account matches the credentials used to interact with the Google Wallet API.
3. Start Building Passes
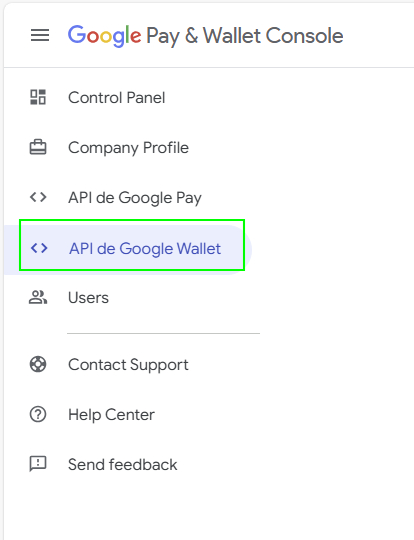
Go to the Google Wallet API and click Build your first pass.
4. Complete the Requirements
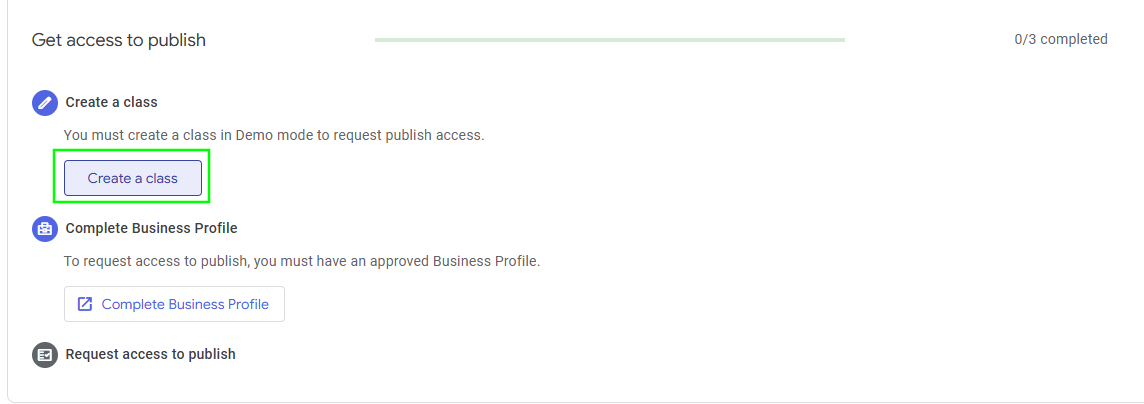
4.1 Create a Class
- Click the Create a Class button.
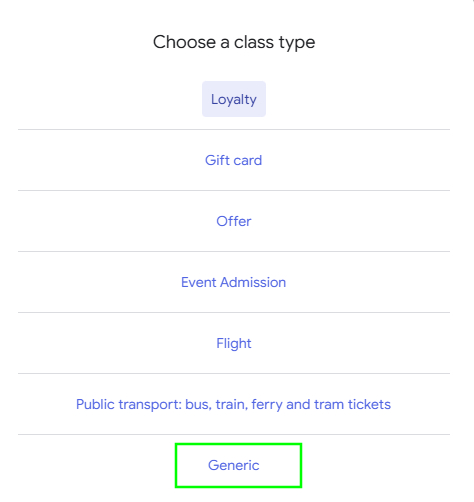
- A modal window will appear with several options. Scroll to the bottom and select the last option: Generic.
- Fill in the following fields as described:
Configuration Details
- Category ID: Enter a random alphanumeric code (e.g., template_example).
- Status (Multiple devices and allowed holders): Select Multiple holders from the dropdown menu.
- Image URL: Copy and paste the link for the indigitall logo: https://storage.googleapis.com/eu1-wallet-service-v2-public/apps/5/templates/155/images/icon_edd4bce53dbb8520d46a2481f0f3b376.png
- Header / Title: My Generic Pass
- Body / Pass Body: Service Updates
- Link Label: Status WEB
- URL: https://indigitall.com
- Redemption Issuer: Enter your Company Name (the client’s name)
Note: If the Google screen remains on a loading loop after entering the Redemption Issuer, please leave this field blank and try again.
4.2 Complete Business Profile
To finalize your setup, you must complete the Business Profile section. You will need to provide details across the following two main areas:
- Business Identity: This section focuses on your Payments Profile. You must enter your company's legal and billing information to ensure all transactions and profiles are correctly linked to your corporate entity.
- Business Information: Provide your specific brand and operational details in the following categories:
- Logo: Upload your official company logo (ensure it meets the required dimensions).
- Basics: Enter fundamental company details such as name and primary address.
- Financial Details: Provide the necessary fiscal information for processing.
- Customer Support (Help Desk): Input the contact information that your customers will use for assistance.
5. Request Publisher Mode Access
Once the requirements are met, click Request access to publish.
6. Await Google’s Response
After submitting your request, Google will notify you via email if your application is approved or denied.
Updated 6 months ago