
Creating a wallet
API
Before clicking the New Wallet Template button, in the section above, you must choose whether you want loyalty (the user will use this card to accumulate points or rewards with no expiration date) or offer (the user will use the coupon to redeem it for a benefit, and it has an expiration date).
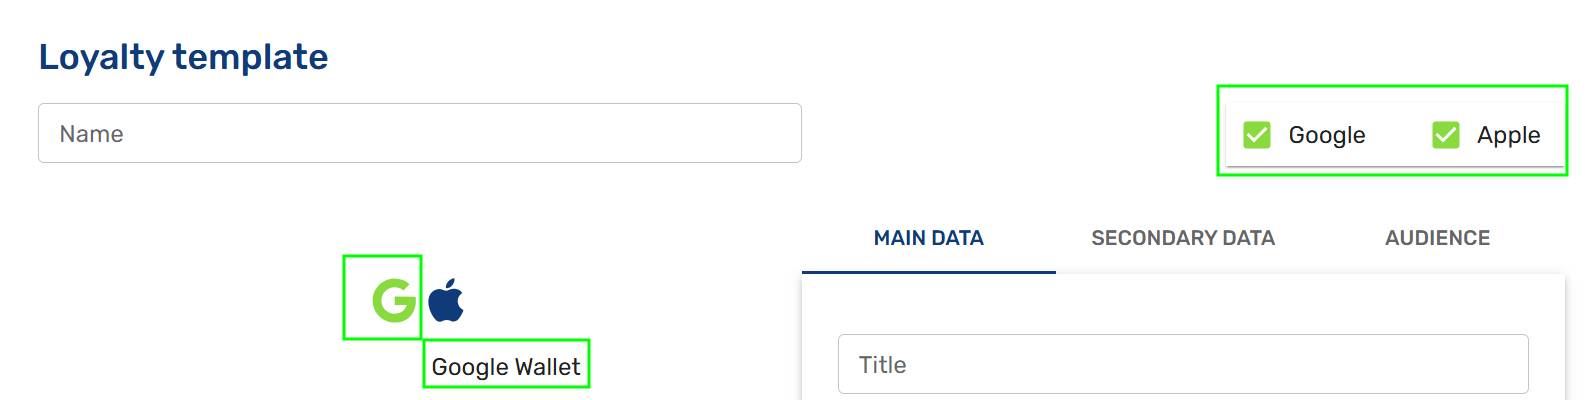
After clicking the New Wallet Template button, it is necessary to write a name for the wallet template. In the right area, you can choose if the wallet will be available for Google (Android), Apple (iPhone) or both. In the left area, you can see both mobile previews to check how it works.
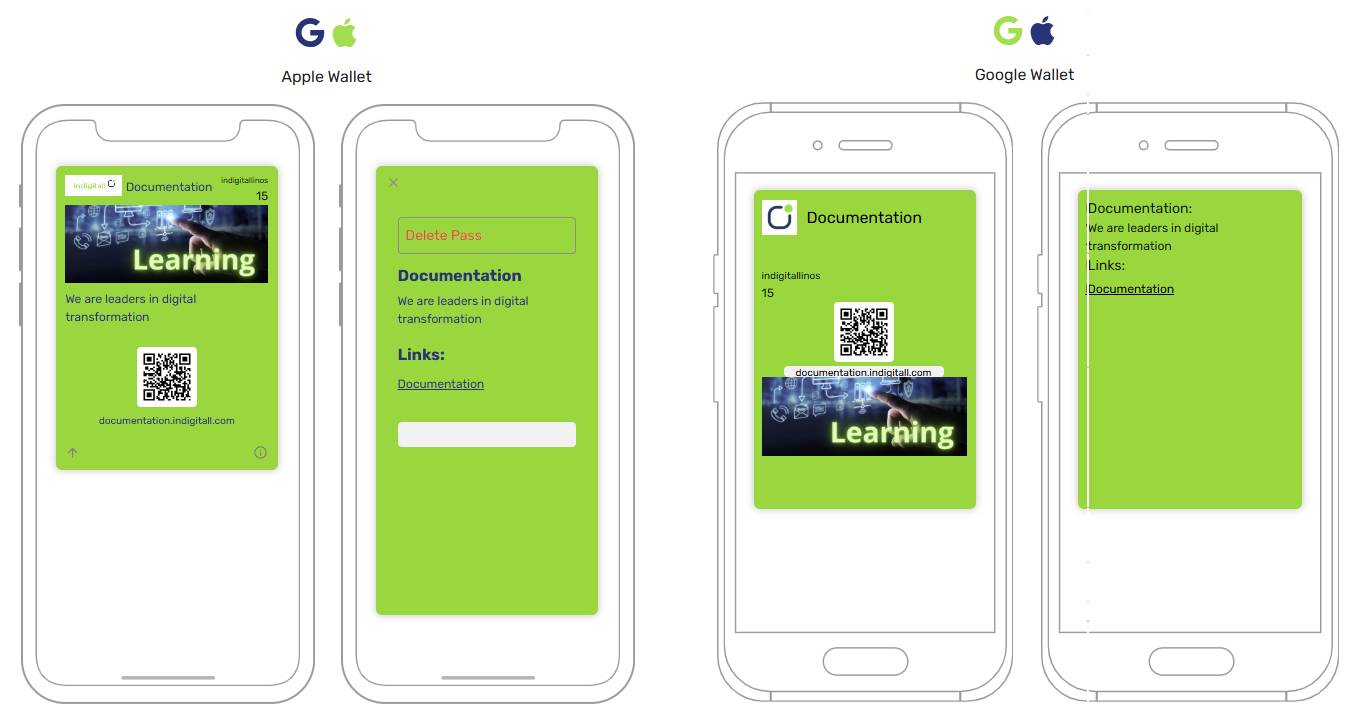
The content is divided into the following tabs: Main Data, Secondary Data and Audience. The display on an Android device and an Apple device is slightly different.
Main Data
You need to fill these fields:
- Title: Writing the text for the title.
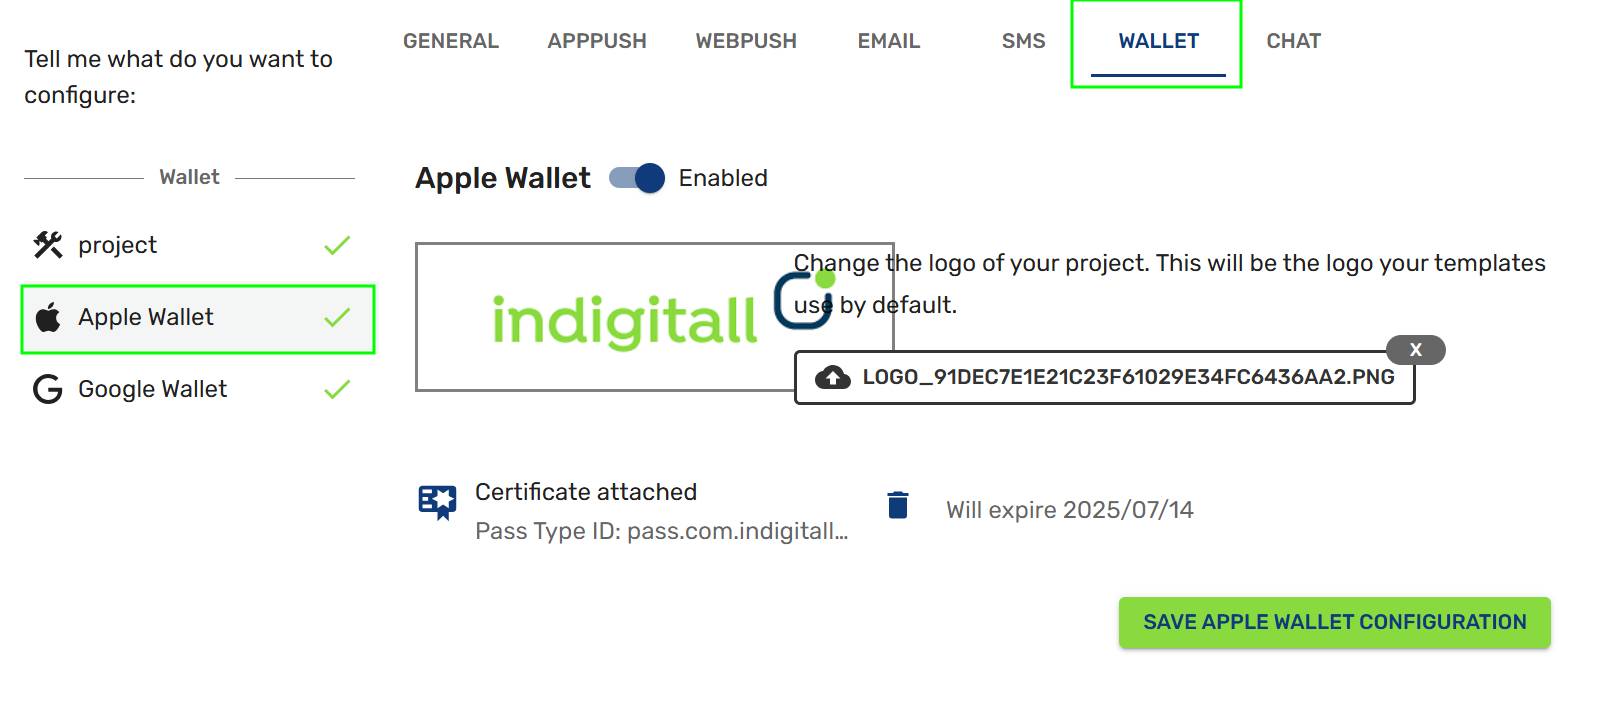
- Logo: Header graphic for iOS (the minimum dimensions are 160 x 50 px). This image has already been uploaded previously in the project setup under the Wallet section/ Apple Wallet (see info). Therefore, it is already set for all templates that are created.
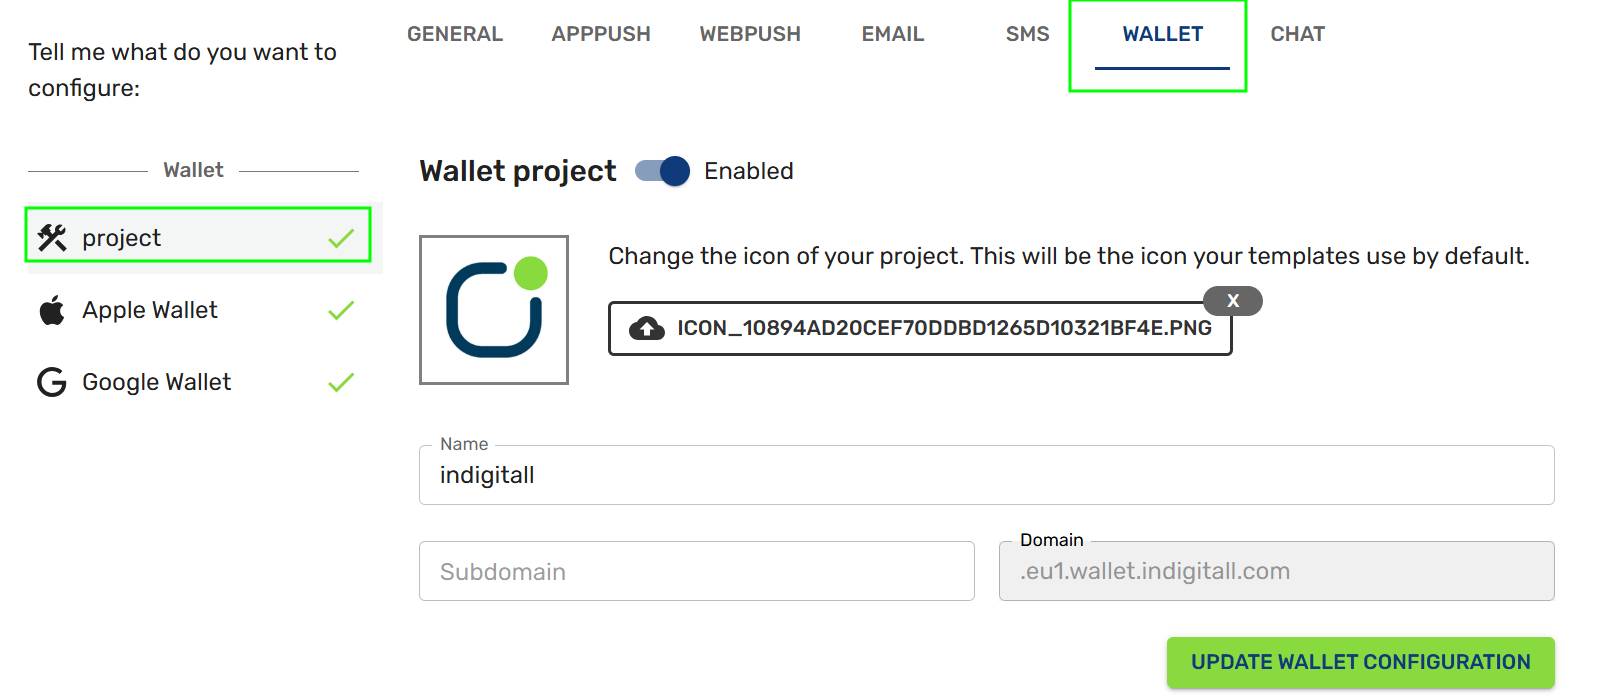
- Icon: Header graphic for Android (the minimum dimensions are 660 x 660 px). This image has already been uploaded previously in the project setup under the Wallet section / project (see info). Therefore, it is already set for all templates that are created.
- Image: Graphic for the body of the pass (the minimum dimensions are 1125 x 432px.)
- Balance: The name you will give to your points or rewards and the value that indicates the default points each user has. These points will be updated in the user's wallet as they interact with the brand.
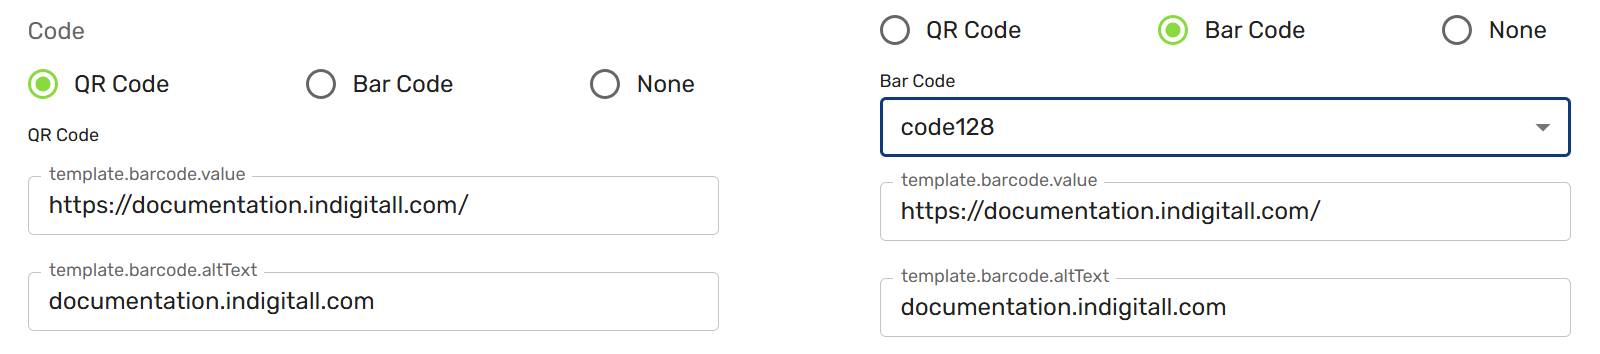
- Code: Select the options of QR code, Bar Code or None. In the first two cases, fill in the value and the alternative text. For Bar Code, it is also possible to choose from several design templates. The field template.barcode.value is where you put the link to which the wallet will direct and the field template.barcode.altText is the text that will appear.
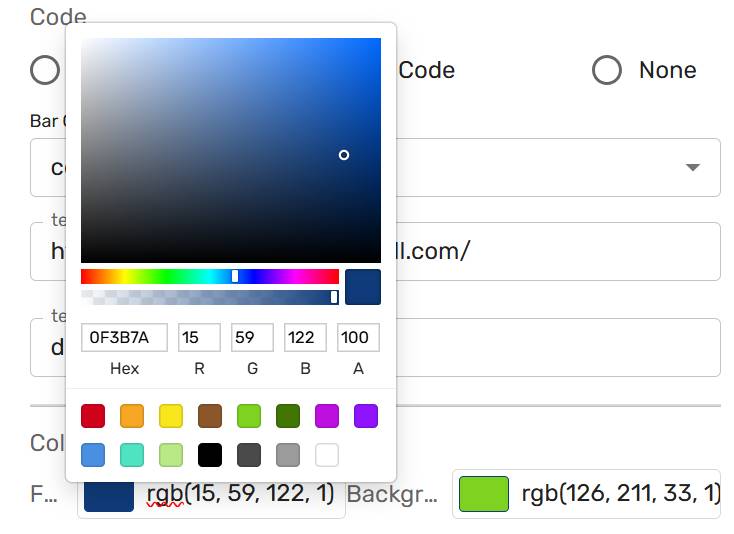
- Colors: Choose the font and background colors using the color bar or writing the parameters or HEX code.
Secondary Data
In the back area, you need to write the following fields:
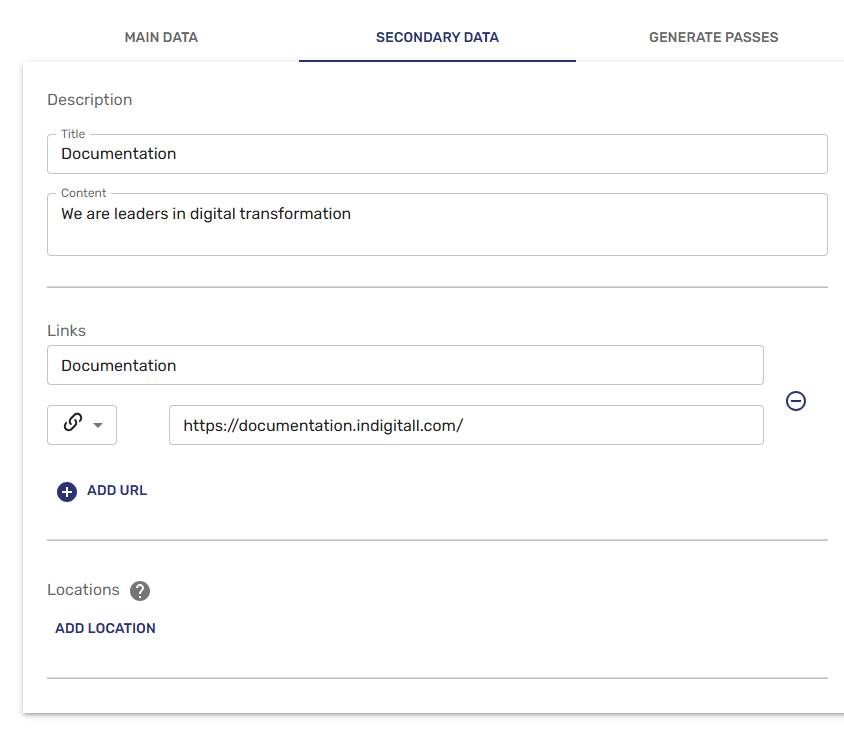
- Title: Write a title for your wallet.
- Content: Write a description for your wallet.
- Links: Write the text and link for your wallet
- Add URL: There is the option to add another URL.
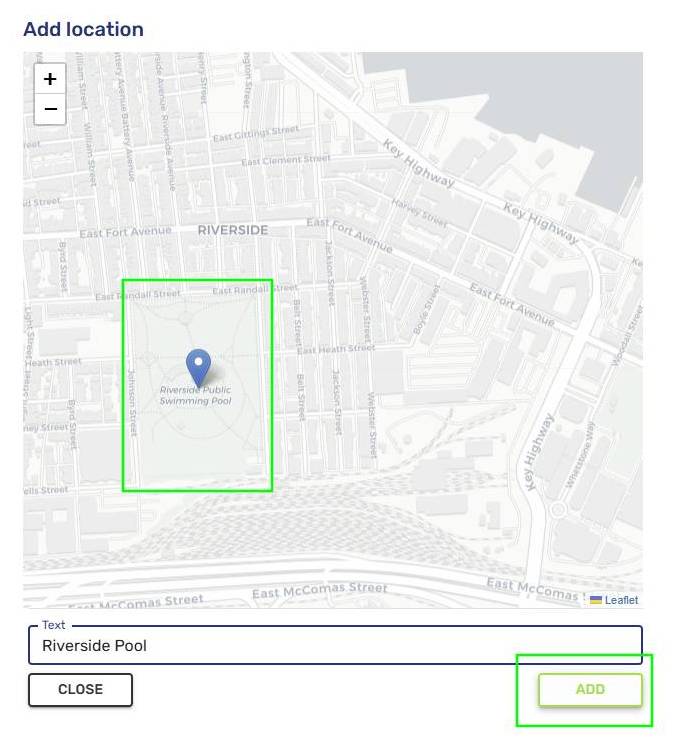
- Add Location: You can choose a location or several points for special campaigns when the user devices are in these areas. You can also write a relevant text for the users as an option for this case.
Audience
It is possible to create a single identical pass for all users by clicking on Unique Pass. This way, you will get the same link for all your users—one for Android devices and another for iOS devices—and you can share both QR codes.
On the other hand, if you click on Personalized Pass, you will get a unique link for each user. In this case, when you generate the passes, you will receive a .CSV file containing the specific links for each user.
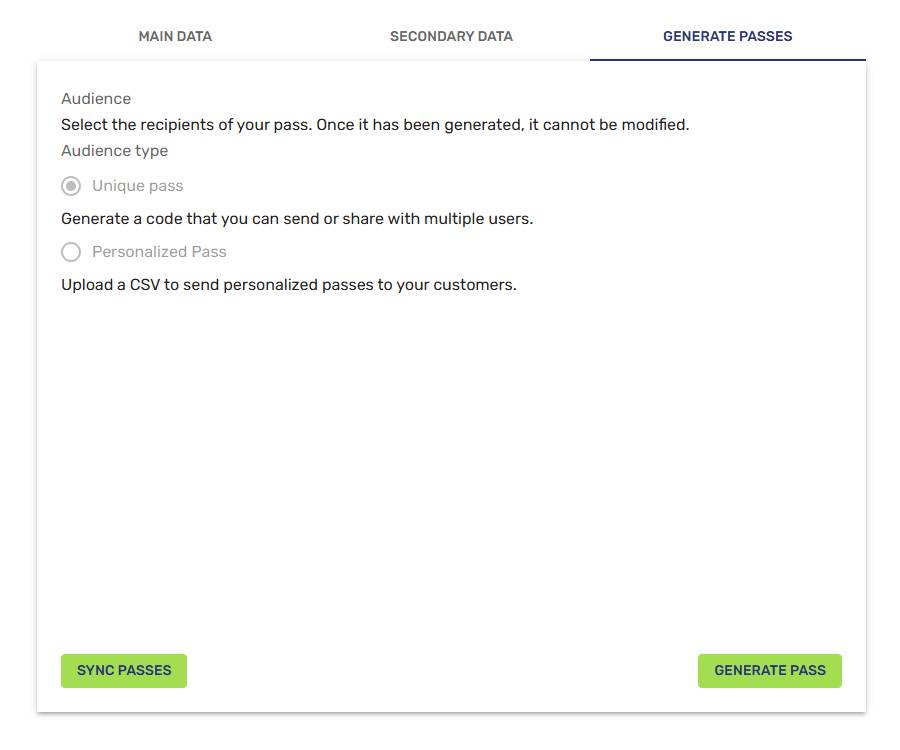
Once the passes have been generated, users can save them in the wallet section of their phones. Then, if you want to modify them, simply edit the content on the screen and click on Sync Passes. The update will be automatic.
Be carefulOnce you create the template it will be associated with the selected pass type and that cannot be modified.
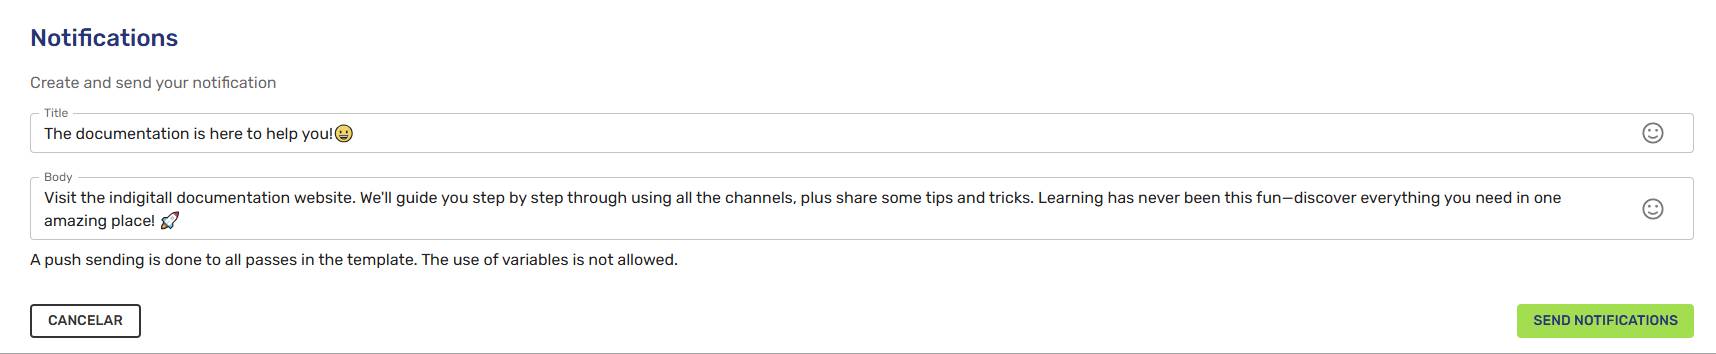
Notification Text & Access your Pass
Remember that in the Existing wallet template area you can send notifications very quickly for each wallet clicking on the bell icon. To see the wallet URLs, you need to click on the QR code icon.
Updated 7 days ago