
Closure Form (Chatv1)
The Closure Form allows administrators to design customized questionnaires that agents can or must fill out when ending a chat interaction in the Contact Center. This tool is essential for categorizing queries, tracking resolution reasons, and gathering statistical data on customer satisfaction.
Access the Closure Form Settings
- Log in to your indigitall console.
- In the left-hand navigation menu, click on Tools.
- Click on the Chat category to expand its dropdown menu.
- Select Closure Form.
Create a New Form for Agents
- On the Conversation closing form in Contact Center screen, click the green CREATE FORM button.
- A main text field labeled Title will appear. Enter a descriptive name for your form (e.g., Form Example).
Add Elements and Question Types
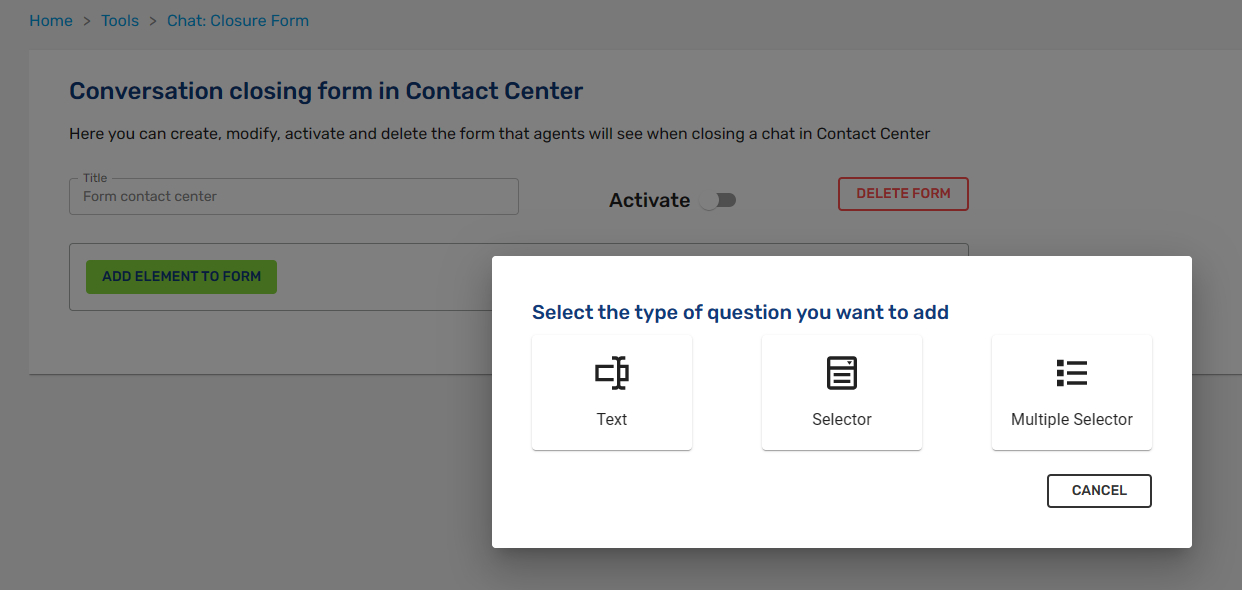
To build your questionnaire, click the ADD ELEMENT TO FORM button. A pop-up window will appear, prompting you to select one of three available question types depending on the data you want to collect:
- Text: Best suited for open-ended responses, allowing agents to type in free-form notes or comments.
Configuration: Enter your text in the Title field (e.g., "Please, briefly explain the cause of the conversation:"). You can optionally fill in a Default Answer. - Selector (Single Choice): Displays a dropdown menu where the agent can select only one answer from a predefined list.
Configuration: Enter your question in the Title field (e.g., "Was the user satisfied with the answer?"). Click the ADD NEW OPTION button to add each response choice (e.g., "Yes", "No", "I don't know"). - Multiple Selector (Multiple Choice): Allows agents to check one or more boxes from a list of options.
Configuration: Write the instruction in the Title field (e.g., "Please, point out the main reason:"). Click ADD NEW OPTION to input the choices (e.g., "Product info", "Price", "Complaint").
Every time you add or update a question or an option, make sure to click ADD ELEMENT TO FORM. The platform will display a confirmation toast notification such as "Question successfully modified" or "Option created successfully". If you need to remove any question or option, simply click the red DELETE button next to that specific element.
Activate the Form
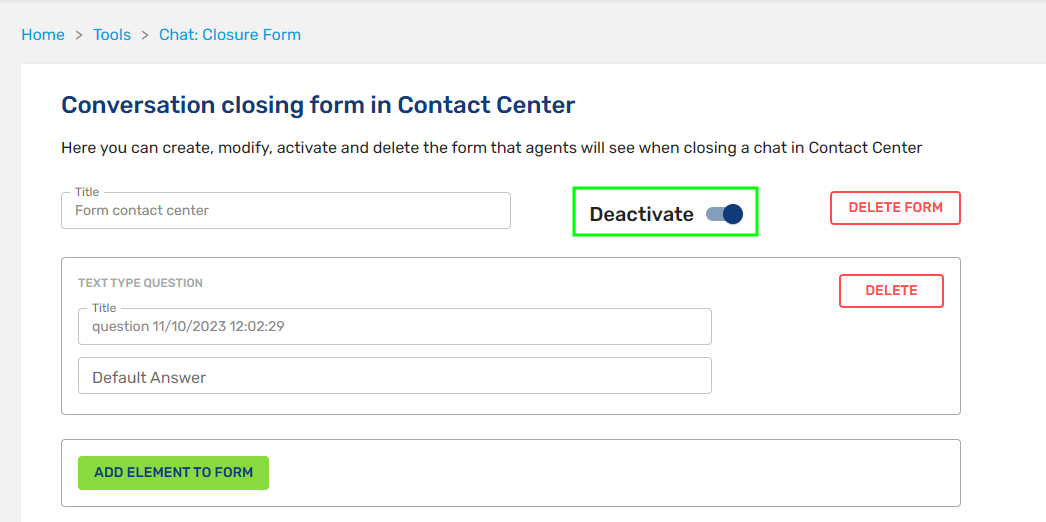
- Once you have finished structuring all the questions, locate the status toggle switch next to the main form title.
- Flip the switch to Activate.
- A success message reading "Form modified successfully" will appear.
Once activated, the toggle text will change to Deactivate. This indicates that the form is live and will be displayed to agents in the Contact Center when closing a conversation. You can pause or modify the form at any time from this same screen.
Updated 2 months ago