
Build your Email
API
In the Add Content section, click on the Design Your Email button to build your email.

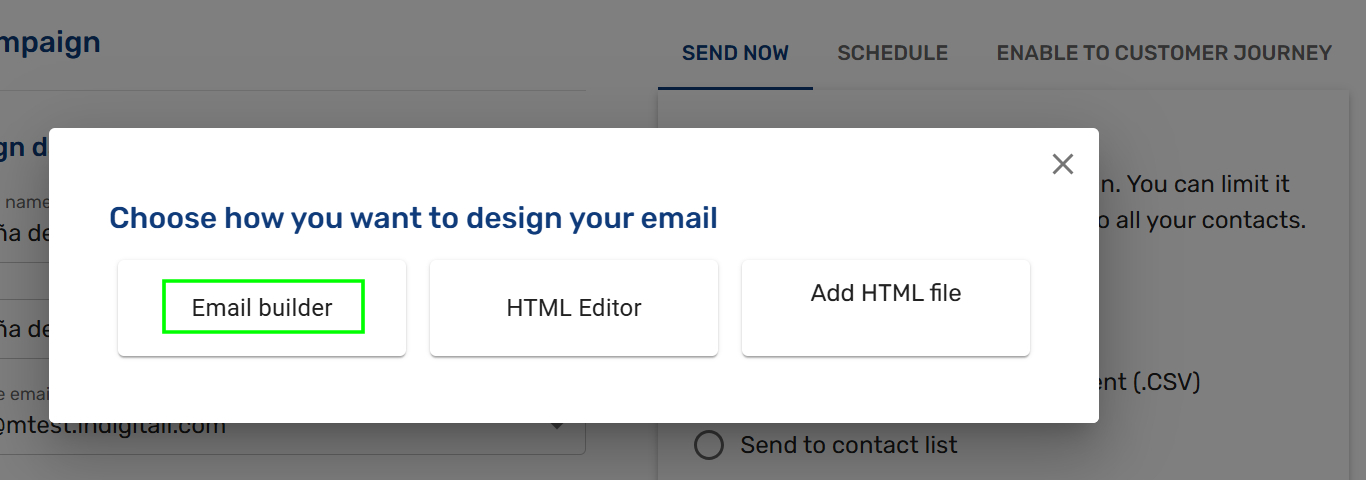
After clicking on the button, a pop up appears to choose 3 options:
- Email Builder: Design your email and create your layouts.
- HTML Editor: Copy directly your HTML code.
- Add HTML file: Upload a HTML file. Once it is uploaded, you can edit and preview from the html editor.
Email Builder
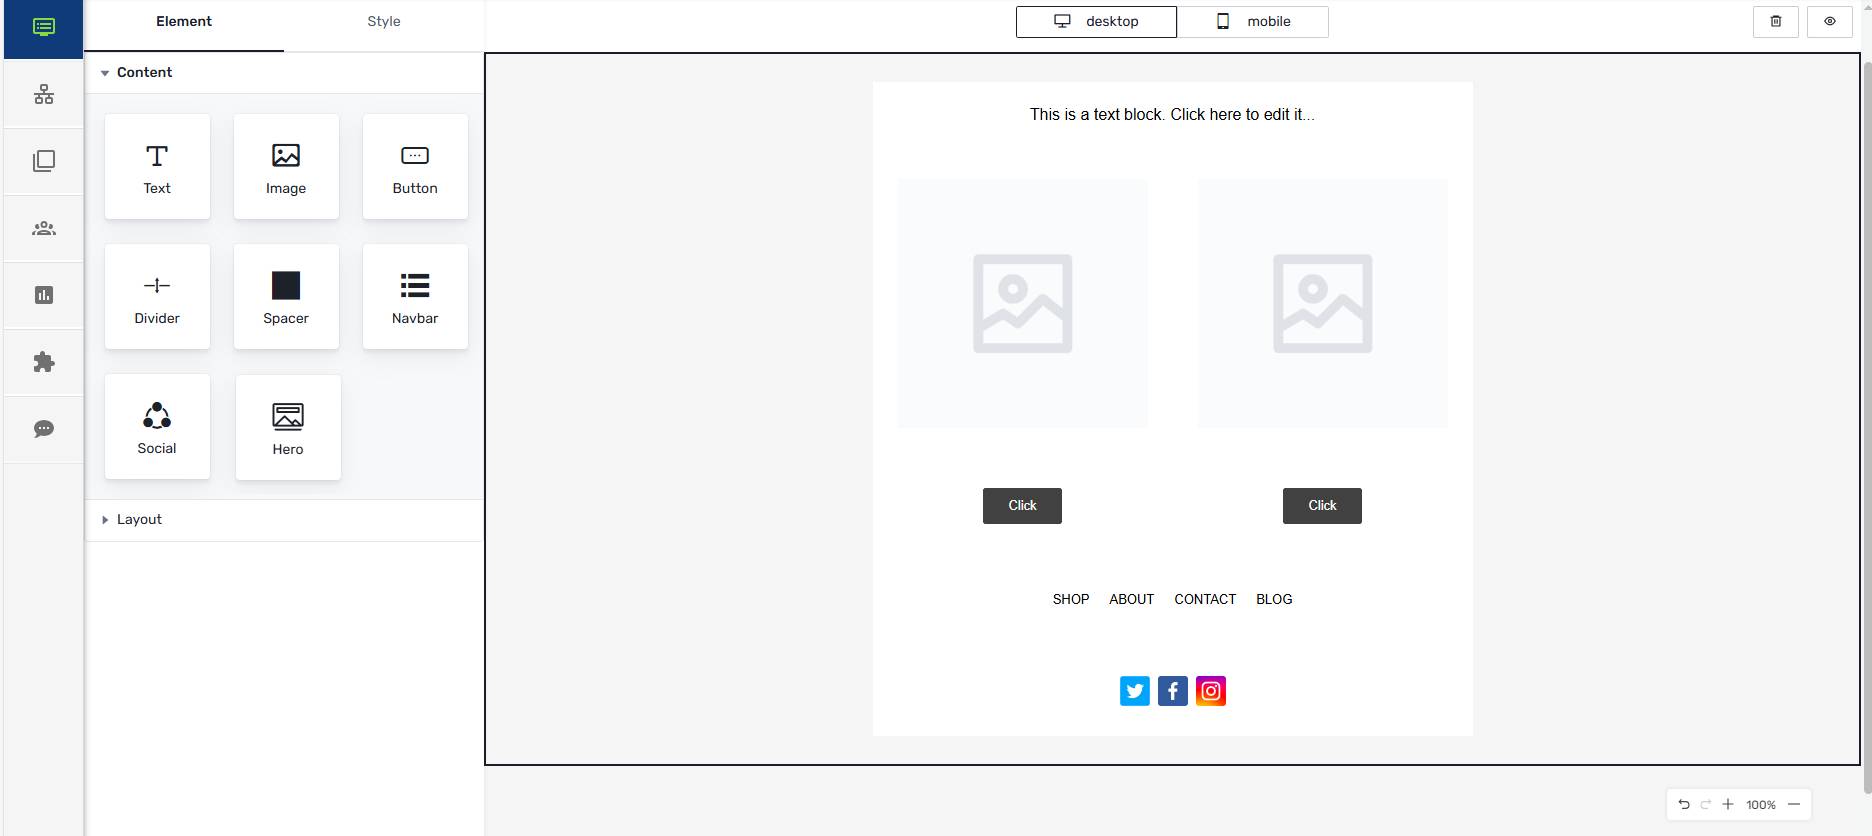
After clicking on the Email Builder button, you'll be taken to the screen where you can build your email from scratch. It's important to note that there are always two view options—Desktop and Mobile—which are located at the top center of the screen. You also have the ability to cancel or save your email at any time, as well as use the trash icon to delete it or the eye icon to preview it in either Desktop or Mobile view.
In the central area, you'll construct your email by dragging and dropping elements from the left-hand menu, which is divided into two tabs: Element (including Content and Layout) and Style (covering Email Settings, Text & Headings, Buttons, Links, and Web Fonts).
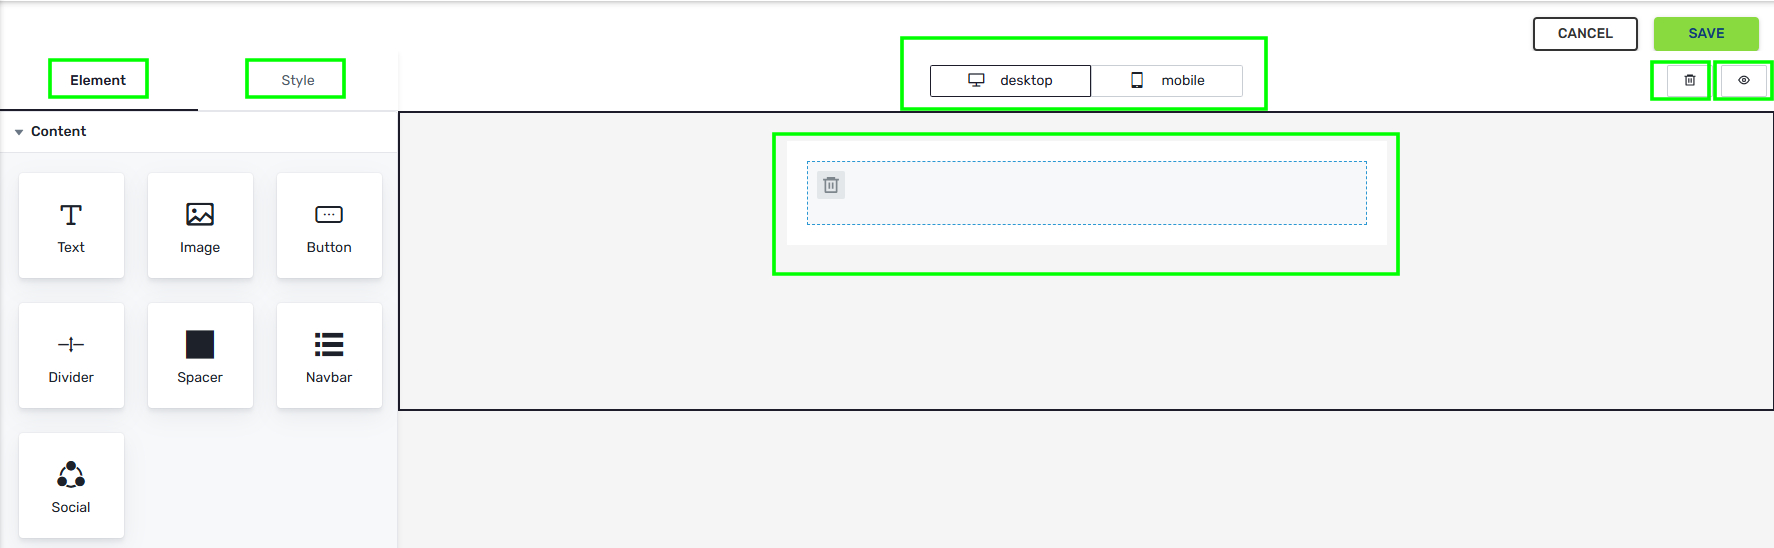
In the Elements tab, you'll find content and layout sections (number of columns) that you can drag into the central area to build your email. By default, the email is set up for a single column, so you can directly drag elements if you plan to use that format. If you want to use more than one column, you'll need to drag the desired number of columns first and then choose content for each cell. The trash icon allows you to delete a cell, while rows can be copied, deleted, or moved using the icons in the Section.
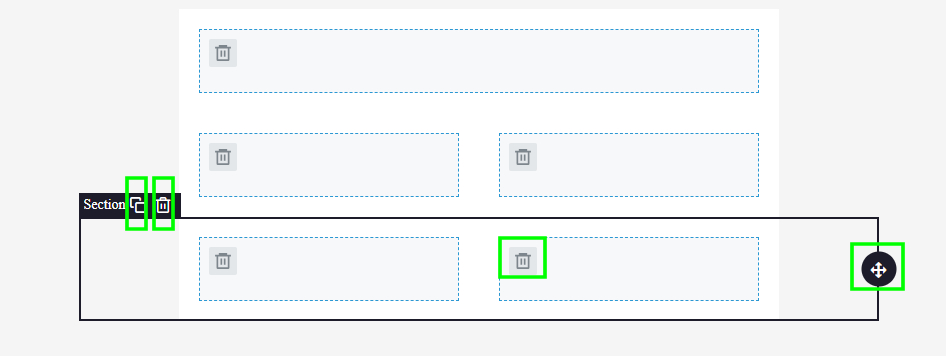
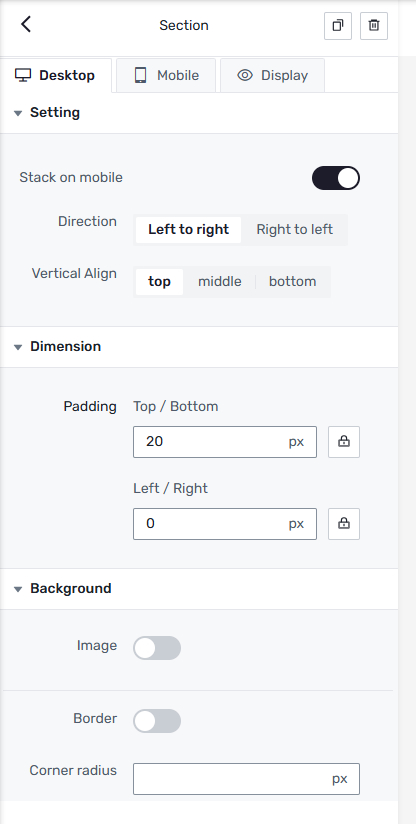
Each section has a fully flexible design, which is why we've included several parameters to customize the format for both desktop and mobile.
Watch this video to see how the email is created by simply dragging and dropping elements into the central area. Check how it's coming along with the web and mobile preview buttons, and adjust the options according to your best judgment.
Content
In the Content tab, you'll find the seven elements that can be dragged into each cell. Once an element is dragged into place, you can configure its various parameters for desktop and mobile using the menu on the left.
- Text: Use this element to write text with configurable parameters such as font type, color, size, paragraph alignment, and positioning.
- Image: Insert images by uploading .jpg, .jpeg, .png, or .gif files, or by providing a URL. Additional configurable options include link settings, positioning, spacing, and more. Note: For best performance, keep images under 200KB.
- Button: A crucial element for executing calls to action within your email. It is fully customizable with various settings, including border, color, and font type.
- Divider: Place a dividing line between cells with configurable parameters such as color, thickness, and spacing.
- Spacer: Add blank space between cells to give your design more breathing room, with editable fields for further customization.
- Navbar: A menu bar designed to add sections with corresponding links. Extremely useful!
- Social: Configure social media icons and links, providing an easy way to add your social profiles.
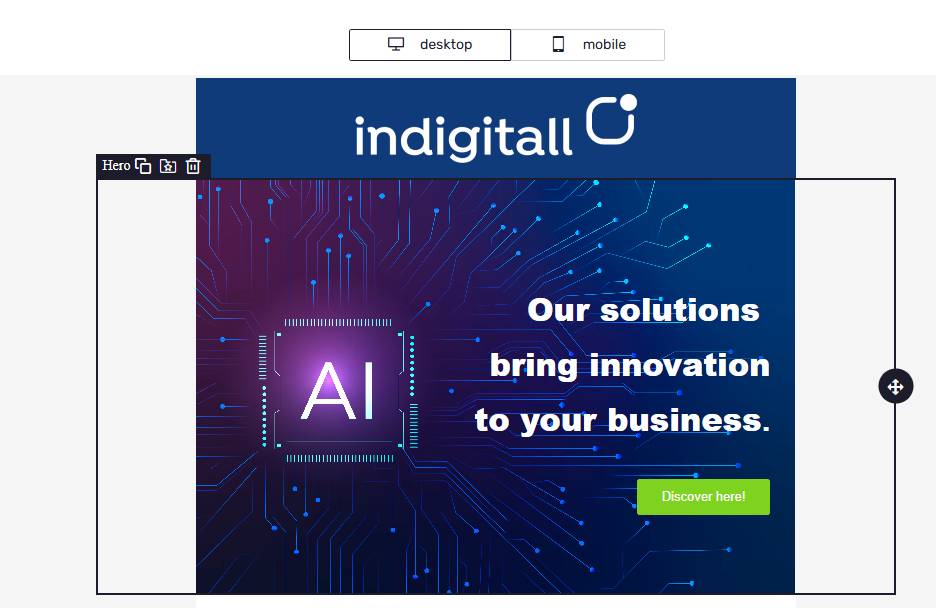
- Hero: NEW! A background image where you can place other elements—such as text and buttons—on top.
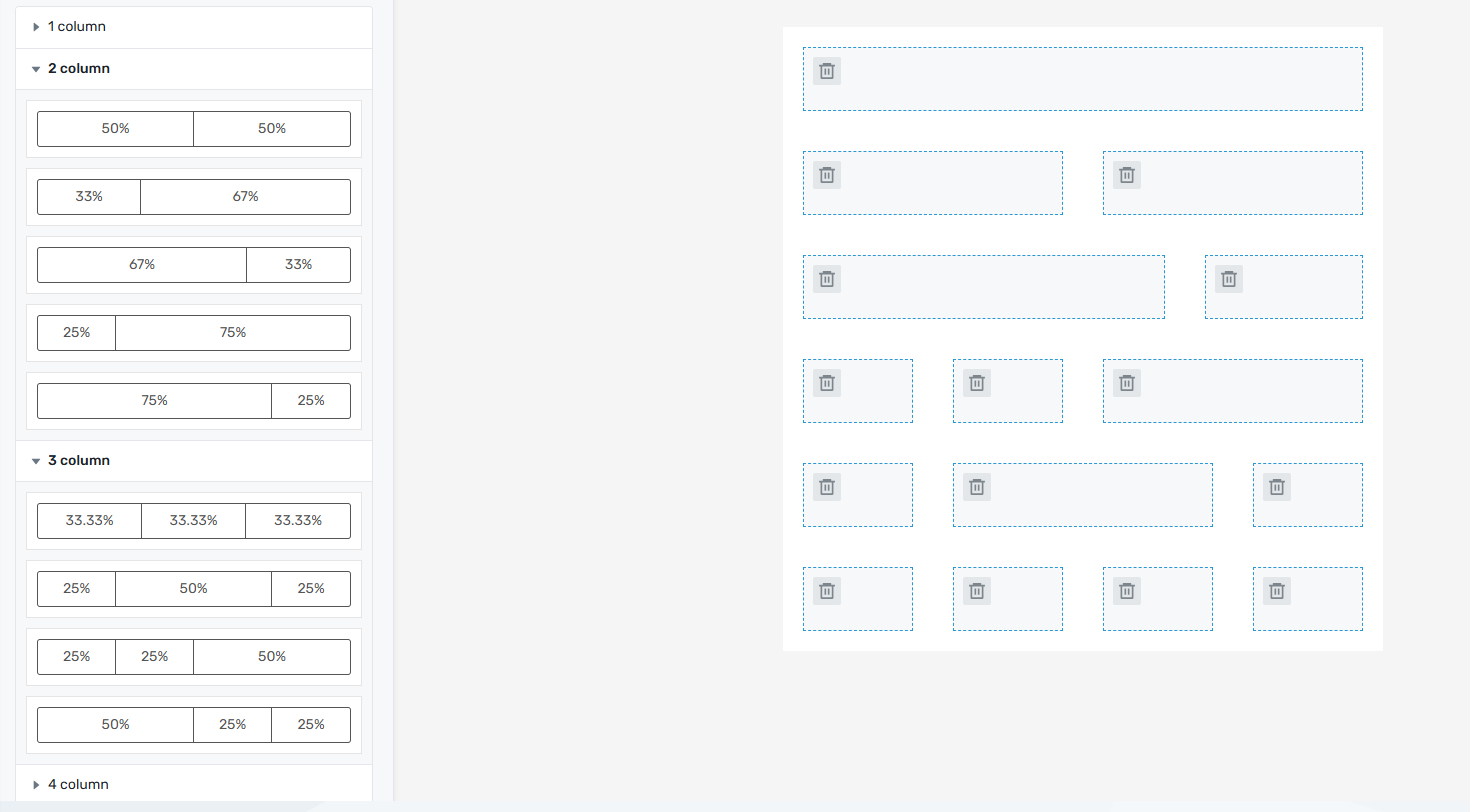
Layout
In this section, you can select the number of columns for each row, with a maximum of four columns. The 2-column and 3-column options allow for different size variations for cells. Simply click on the desired option and drag it with your mouse to the central area, positioning it where you want it to appear.
Style
In the Style tab, you will find various configurable fields to tailor the email to your company's brand image. This menu is highly intuitive; simply click to select or enter the desired value.
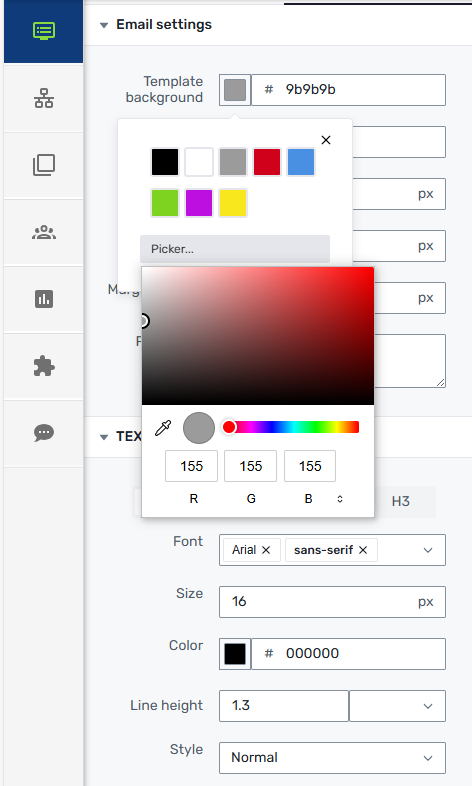
Specifically, from this section, you can configure the following parameters: Email Settings, Text & Headings, Buttons, Links, and Web Fonts.
Please note that you always have the option to preview the email to see how it looks. And remember to regularly save your work to avoid losing any progress due to unforeseen errors.
Preheader
In the first section, Email Settings, the last field is optional. It’s the preheader field: a short piece of text that appears in the email preview in the inbox, complementing the subject line.
You need to write this line in the html code (in case you upload the HTML directly).
<span style=”display: none;”>Write the text here for the preaheader</span>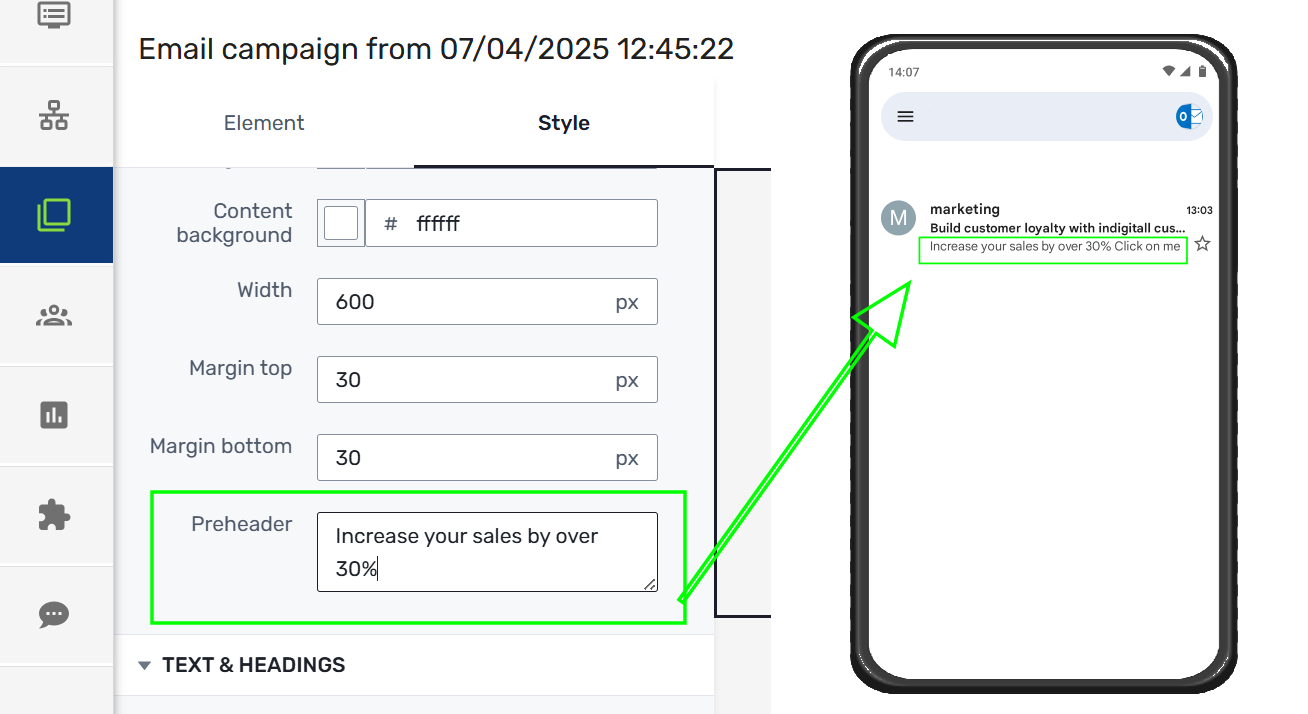
indigitall coinWrite a compelling preheader line that complements the email subject and boosts open rates.
HTML Editor
If you your template is done with html code, only it is necessary to copy and paste on the right space. Watch this video in less than 30 seconds to learn how to insert the code into email:
HTML File Sizes
- Maximum Size: Between 5 KB and 650 KB (ideally under 100 KB).
- Code Minimization: Remove unnecessary spaces, carriage returns, and comments.
- CSS Styles: Reduce and optimize CSS usage, avoiding redundant or unnecessary styles.
- Content: Focus on substance and eliminate superfluous content. Direct subscribers to a landing page quickly.
1. Drag and drop the 1 column (100%)
2. Drag and drop the HTML button into first column.
3. Click into the html editor (as it is shown in the image below)

4. Paste your html code and click on Save at the right top area.

Using variables
You can create customized campaigns for each user through variables that change according to the data of the user you want to address for the subject and body text.
Variable ExampleHi Tom! We have discounts in our Madrid store, are you going to miss them?
The scheme would be this: Hi {{var:name}}! We have discounts in our **{{var:city}}**store, are you going to miss them?
For this simple example, the variables are the customer's name and city following this format: {{var:variable-name}}.
These variables are the data you have on your CRM and it is necessary to upload a .CSV file with all data you need in the Define your Audience section. For this example, you need the following fields:
email, name, city
[email protected], Tom, Madrid
[email protected], Sarah, London
Remember that if you are working with the Customer Journey solution then you need to create the fields in the Customer Fields area as we explain here. Please see all information about data synchronization for Customer Journey.
View in Browser
Include a "View in Browser" link in your email campaigns to provide subscribers with an alternative way to view your content. This link directs them to a web-hosted version of your email, ensuring they can see it exactly as you intended, even if their email client has trouble rendering HTML or displaying images. This feature is also commonly referred to as a "mirror link."
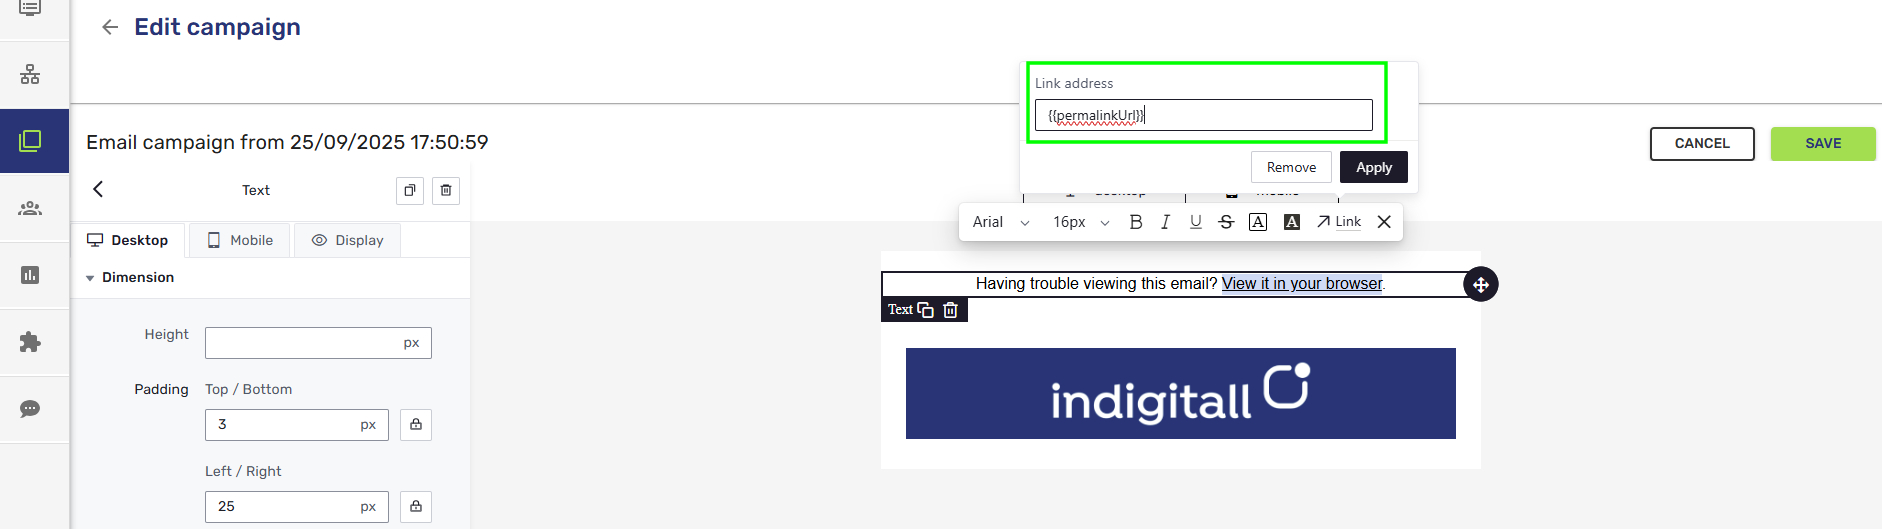
To add a "View in Browser" link to your email, simply insert the word permalinkUrl written inside double curly braces where you want the link to appear in your email's content.
When creating the email directly using HTML code, you will need to define it as: [[var:permalinkUrl]]
When your email is sent, this tag will be automatically replaced with a unique URL that displays the email content as a webpage. You can place the tag within a sentence or as a standalone link.
Special Considerations for Gmail
The Gmail email platform has some specific nuances. Please consider these two factors to ensure your emails directed to Gmail domains are received perfectly:
- Size Limit: Gmail trims emails exceeding 102 KB.
- Optimization: Reduce code and content size to avoid trimming.
Updated 2 months ago