
Audience
The Audiences section in the indigitall console is your central hub for managing who receives your communications. Here, you can configure the Contact Lists used to trigger your automated Customer Journeys. However, if you are running a campaign on a single channel, simply navigate to the Audiences menu and select that specific channel to create and verify your targeted list. To get a comprehensive view of your users, we recommend visiting the Customer Data Platform (CDP) section. In the CDP, all demographic and behavioral data is stored and analyzed to build unified profiles for each unique user.

Creating a contact list
You can easily create and manage custom lists of users to target within your automated workflows. To simplify management, a search bar is available at the top to help you quickly find lists by name. The dashboard also displays the following fields for each entry: ID, Name, Creation Date, and Last Modified. Additionally, you can download any of your uploaded lists at any time by clicking the Download (arrow) icon located to the right of each entry.
To create a new contact list via CSV import, follow these steps:
- Navigate to Audiences > Customer Journey > Contact Lists in the left-hand menu.
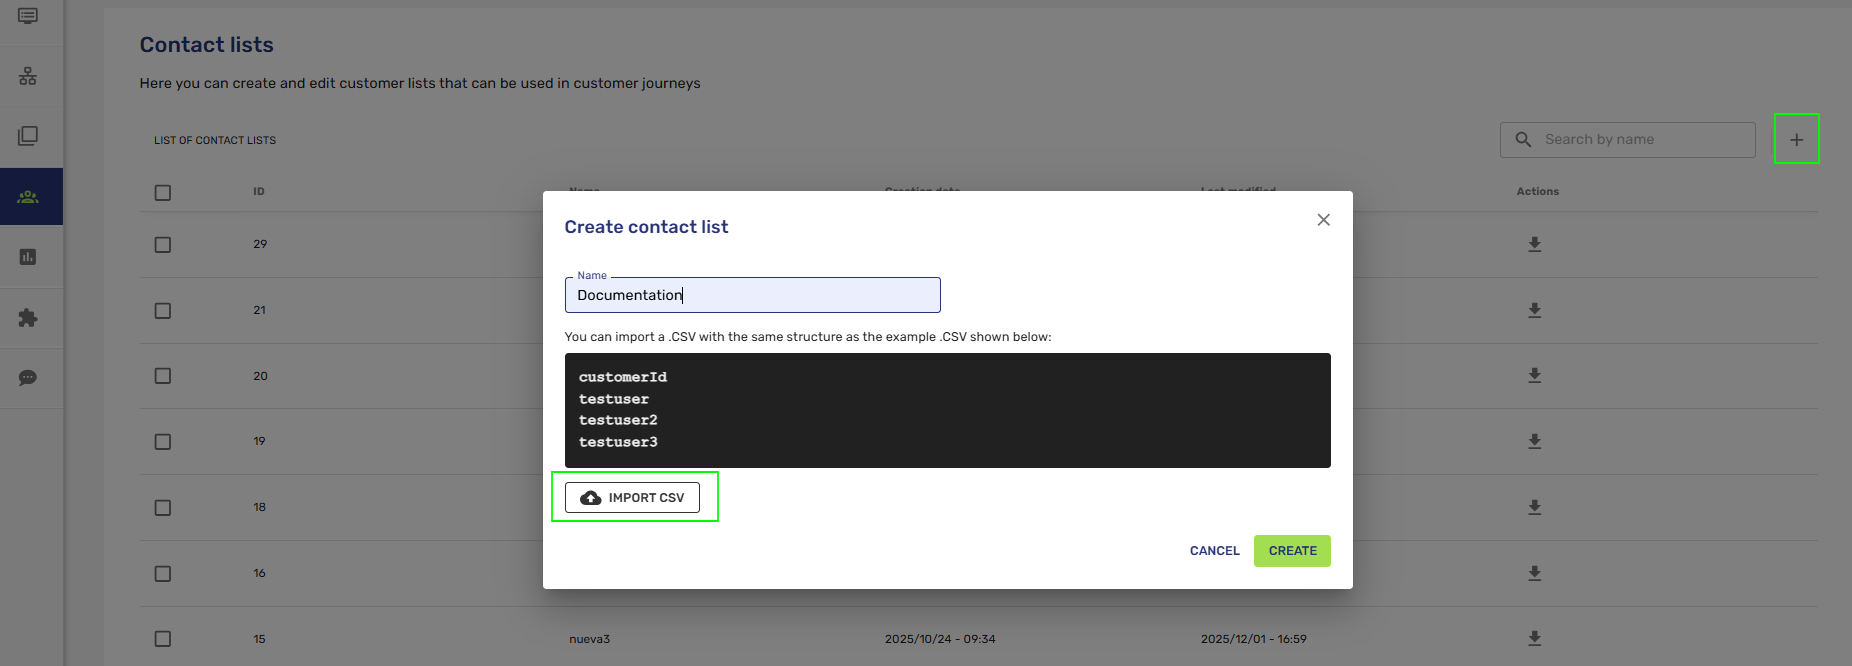
- Click the + icon in the top right corner of the screen to add a new list.
- In the Create contact list pop-up window, enter a Name for your list.
- Click the IMPORT CSV button to upload your file.
- Once your file is uploaded and the name is set, click CREATE to save your new contact list.
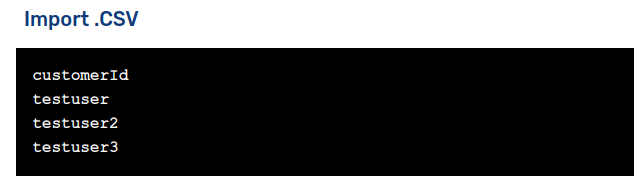
Note: Your .CSV file must follow the exact structure shown in the platform's example. It requires a single column with customerId as the header, followed by the specific user IDs on the subsequent rows.
Using Custom Variables
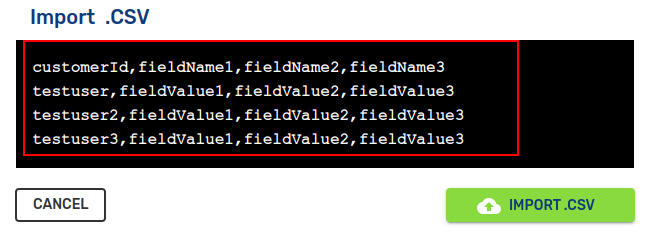
If you want to include custom variables to personalize your communications, you must add these variables in subsequent columns to the right of the customerId, exactly as shown in the example image.
Managing Your Contact Lists
You can easily modify or remove existing contact lists at any time directly from the main dashboard.
In the Contact lists dashboard, select the list you want to manage by checking the box next to its ID. Once selected, an action bar will appear at the top right of the screen.
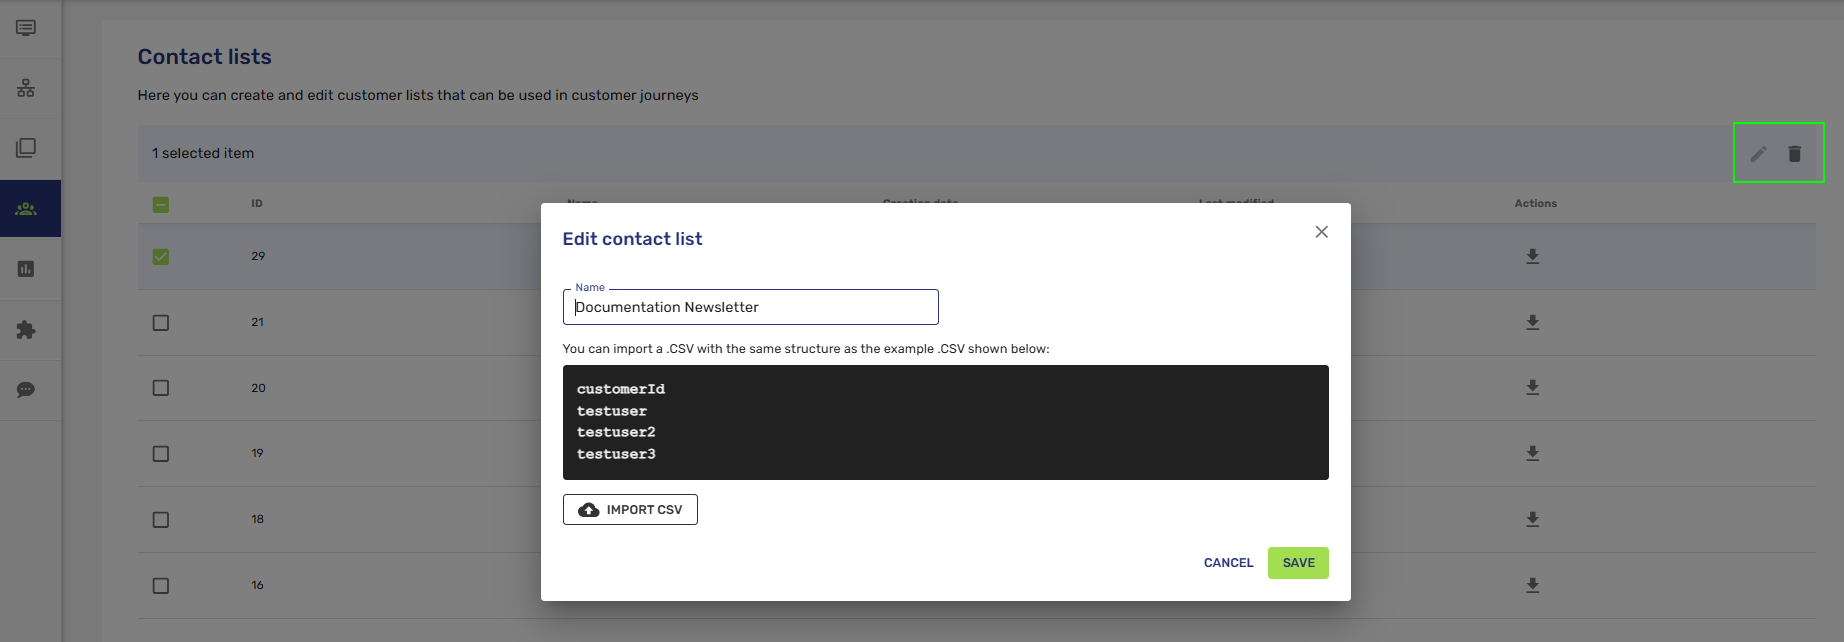
- To Edit: Click the pencil icon. This will open the Edit contact list window, where you can rename the list (e.g., "Documentation Newsletter") or import an updated .CSV file. Click SAVE to apply your changes.
- To Delete: Click the trash can icon to permanently remove the selected list from your workspace.
Updated 3 months ago