Learning to Use indigitall
The console of indigitall is the control panel of the tool. All actions will be executed from here.
Login for indigitall console
- https://eu3.console.indigitall.com - Customers using the console since September 2024.
- https://am1.console.indigitall.com - For all customers located in the USA and Latin America.
- https://eu2.console.indigitall.com - European customers and customers from other markets worldwide using the console since January 2021.
- https://console.indigitall.com or https://eu1.console.indigitall.com - European customers who have been using the console since BEFORE January 2021 up to today.
There are four links to access. If you have any questions or concerns about this first step, please contact our support team.
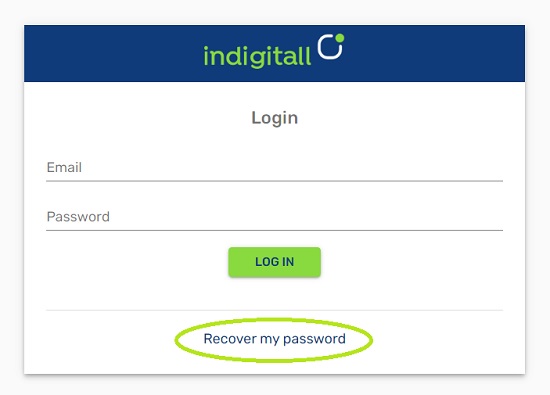
If your company has an account, we have sent a link to login into the console to our company contact person. Please ask for this link within your team. You also need an email and password.

If any time you have forgotten your password, you can click on Recover my password and you will receive via email a link to generate a new one.
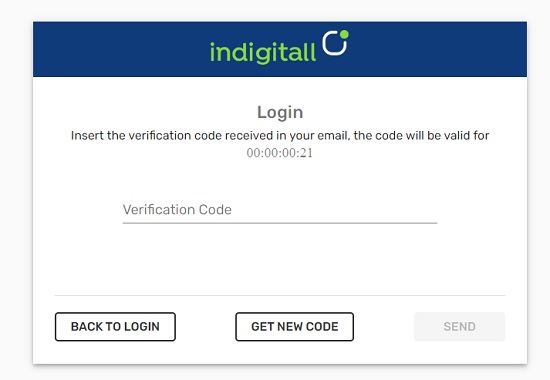
indigitall strengthens your security with 2FAThe first time you log into the console, we will immediately send a code to your e-mail to write on the corresponding field. Once the code is entered, you will enter the console and you can use it as usual.
When entering the console from a new device, you will receive a code in your e-mail to insert it which allows us to verify your device and account in two steps. With this double authentication (2FA), indigitall reinforces the security of the system by verifying all the devices that give access to our platform.

If you don´t receive the code or your write incorreclty, you can click on Get New Code and we will send again a new code. When you write the code on the corresponding space, please click on Send.
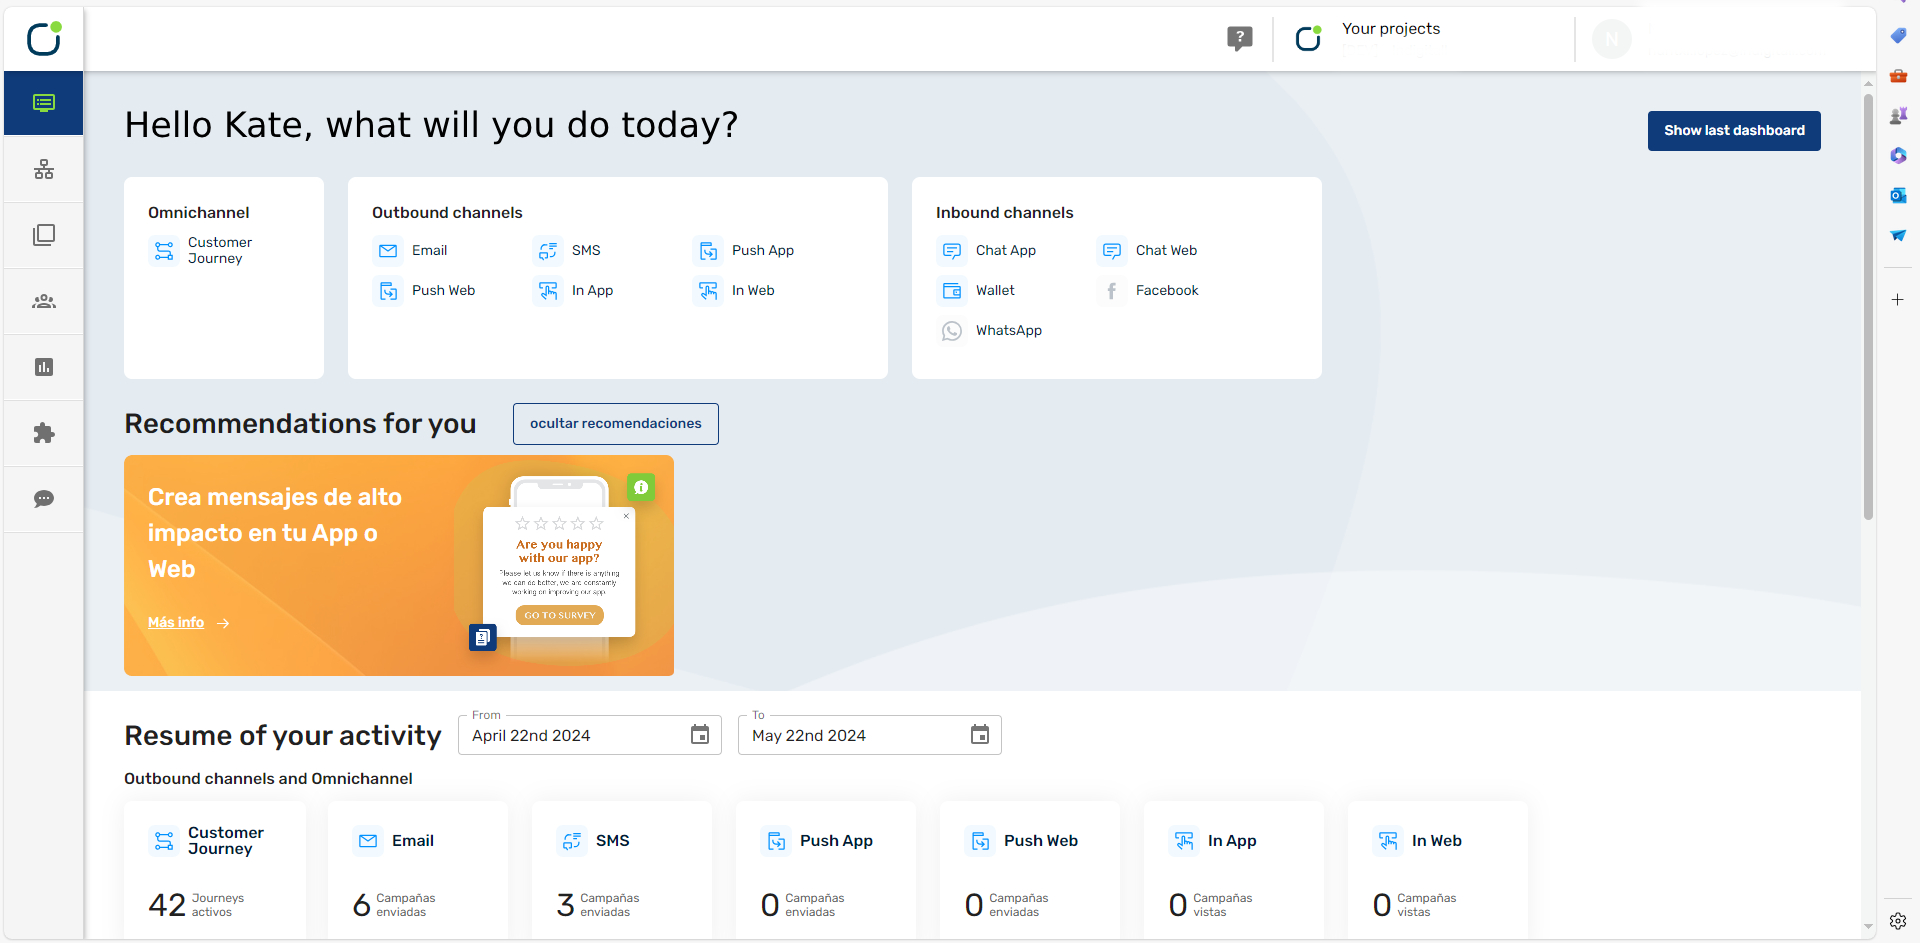
Once you access your console, you will see a home screen similar to this:

- Channels: You can select to create a Customer Journey or choose a specific channel.
- Recommendations: Section to appear recommendations about our solutions.
- Analytics: A quick view about your last campaigns.
Top menu
indigitall logo - Press it to open the side menu.
New campaign icon - You can create a new campaign. If you want more information on how to manage campaigns, visit our guide.
Your projects - Switch between your different projects. Follow here our guide about the projects.
Name and email - You can access:
- Profile - Modify your personal data such as password, name or upload an image. You can find more information about your profile here.
- Plan and billing - Access your plan, improve it.
Side menu
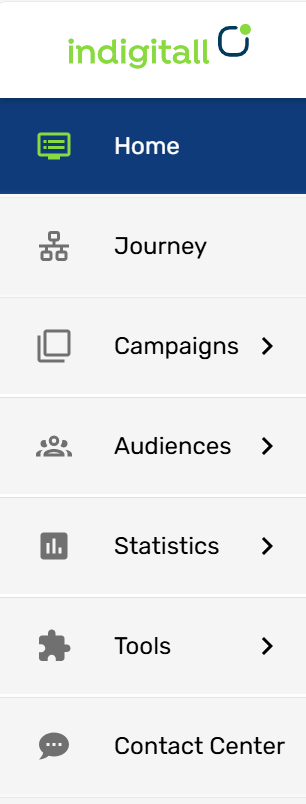
In the left side menu of the console, you will find the following sections:

Home - It is the first vision of the console, with your use recommendation, activity, current state, your best hours to send, most clicked words and your projects.
Journey - From this tab you can create, edit and analyse the customer journeys to develop your omnichannel estrategy. Click here for more details.
Campaigns - Access your campaigns: edit, delete or create new ones. More information on push campaigns here.
Statistics- Detailed information about the results of your actions. Find more info here.
Tools - Customize your campaigns in an advanced way.
Contact Center - You can manage the Contact Center and Multimedia services of the chatBot. You have more documentation about the chat here.
Configuration - from here you can create new projects, edit or delete them. You will find information such as the app keys of your project. In this section you have the Users tab to give access to other administrators, and the server key. For more information visit this guide.

Updated 3 months ago
