
Configure your Email
API
Campaign data
First you need to write the Campaign data:
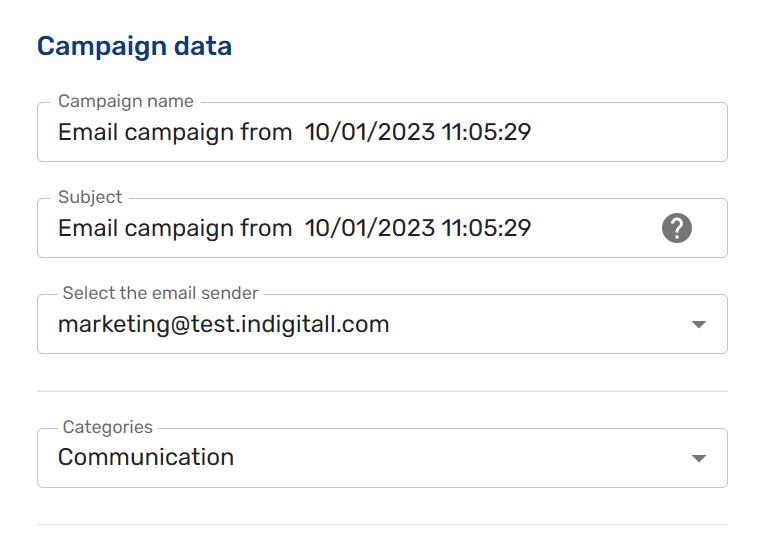
- Campaign Name: Choose a useful name for your reports. The audience won´t see this name so it is only for you.
- Subject: Write a great subject for your audience. Later you can finish this important task.
- Select de email sender: Previously you have created it on Projects. Please go to the Integration article to learn how to create the email senders.
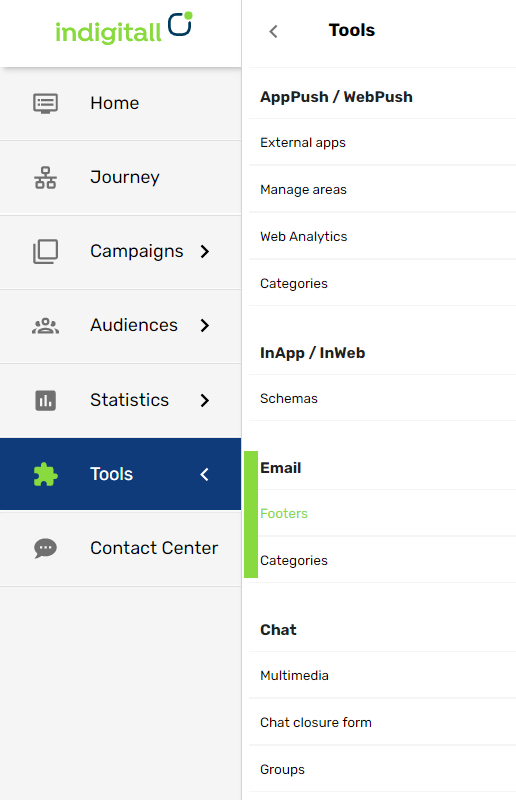
- Categories: Previously you have created it on Tools/Email/Categories. (See full explanation here)
Add content
- Design Your Email button: Click here for the full explanation.
- Attachments: Upload the file to attach with the email.
- Footers: Previously you have created it on Tools/Email/Footers. (See full explanation here).
Below you have the explanation for categories and footers from the Tools section.
Category
Choose the category for your email on Tools > Email/Categories. Then you can filter all your campaigns by category and it is very useful for analytics. The user won´t see this category.

Footer
On this area you can create the footer for your emails. Only you need to put a name and copy your html code on the space for it.

Updated 8 months ago
Did this page help you?